
Basics of Ren'Py #3
Image, Scene, Show and Hide
Welcome to Basics of Ren'Py!
These tutorials should help you understand basic features of Ren'Py. If you're new here, you should see the first two tutorials if you haven't already. You can find those Here (#1) and Here (#2).
As always, you can create a new project to be your guinea pig, or use one that you already have. I recommend writing into script.rpy, but any file will do, as long as there aren't any conflicts across files, like two different start labels.
define l = Character("Lezalith",
who_color = "00FF00",
what_color = "FF0000")
label start():
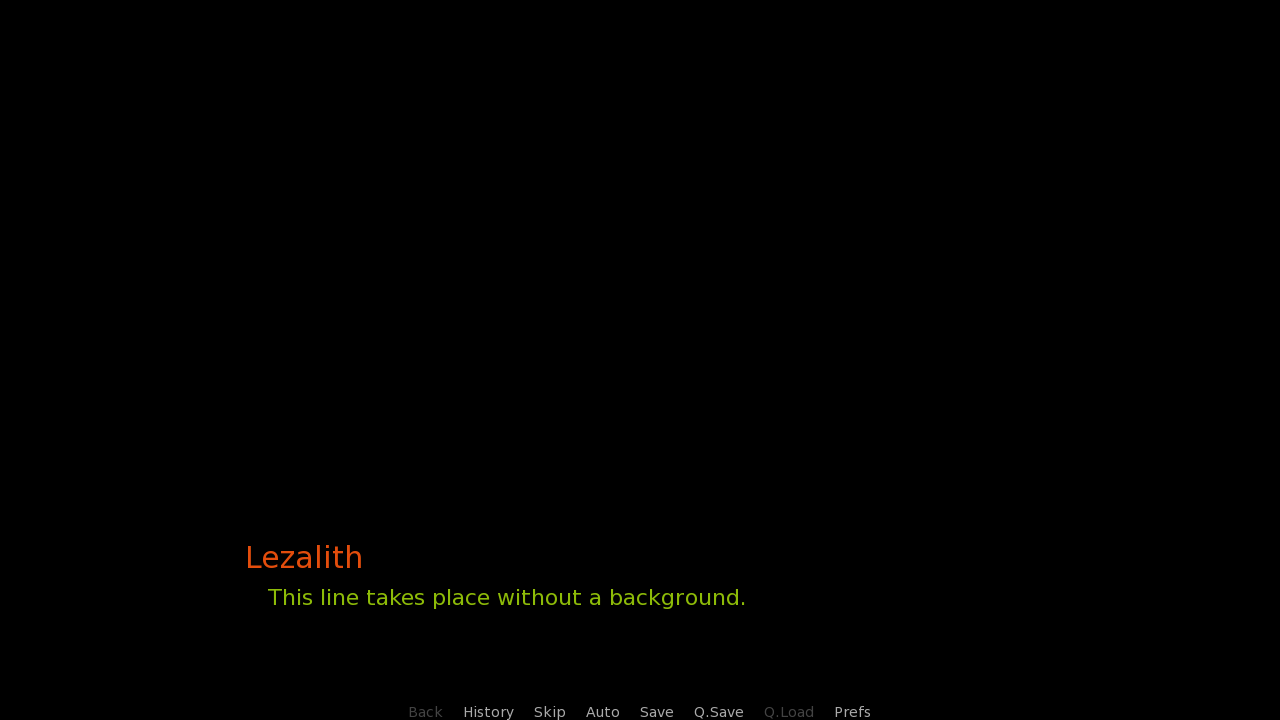
l "This line takes place without a background."
# 1
l "This line has a background."
# 2
l "This line has a background and a sprite."
# 3
l "Background got hidden."
# 4
l "Sprite got hidden.
returnAbove, you can see the start label we're starting with, which I've already prepared for today's lesson. Can you see the lines starting with #? Those are comments. They have no effect on the code, they're there for notes, explanations, or for temporarily removing code without outright deleting it.
We will begin replacing each of those four comments with an expression that fits the prepared dialogue. Don't worry, I'm here to guide you through it.
define l = Character("Lezalith",
who_color = "00FF00",
what_color = "FF0000")
image ourBackground = "gui/main_menu.png"
label start():
l "This line takes place without a background."
scene ourBackground
l "This line has a background."
...There. That's the first addition, which includes not only the image statement, but also the scene statement. Let's first talk about image.
Remember when we talked about about the define statement (in Basics #2), and used it to define a Character object? Well, image statement functions similarly, except it's tailored for images⁽¹⁾. So, we give it a file path, and whatever image Ren'Py finds by following it will be remembered under the name "ourBackground".
[From Tips - #1:]
A really amazing thing that many people don't know about is that you can define an image by simply putting it into the image folder in the game/ directory. If I had my "gui/main_menu.png" file inside the image/ rather than gui/, I wouldn't even have to use the image statement, I could've just written "scene main_menu" and the result would be the same. If you try this though, make sure you copy-paste the file, not move it.
[End of the Tip!]
"gui/main_menu.png" is an image that comes with every created Ren'Py project, but feel free to use your own if you'd like!
By the way, I hope you like the colors that I've chosen for myself today.
(1) The image statement is not actually for images, it's for Displayables. Displayables are objects which represent different things Ren'Py can show through various means, effectively representing actual images.
However, they fall into the advanced category, so let's keep those for another time.
When the background is defined, we can use the scene statement to show it. The change will happen once the player passes the scene statement, meaning inbetween two dialogue lines.
Once again: We define the background image with the image statement and show it with the scene statement.
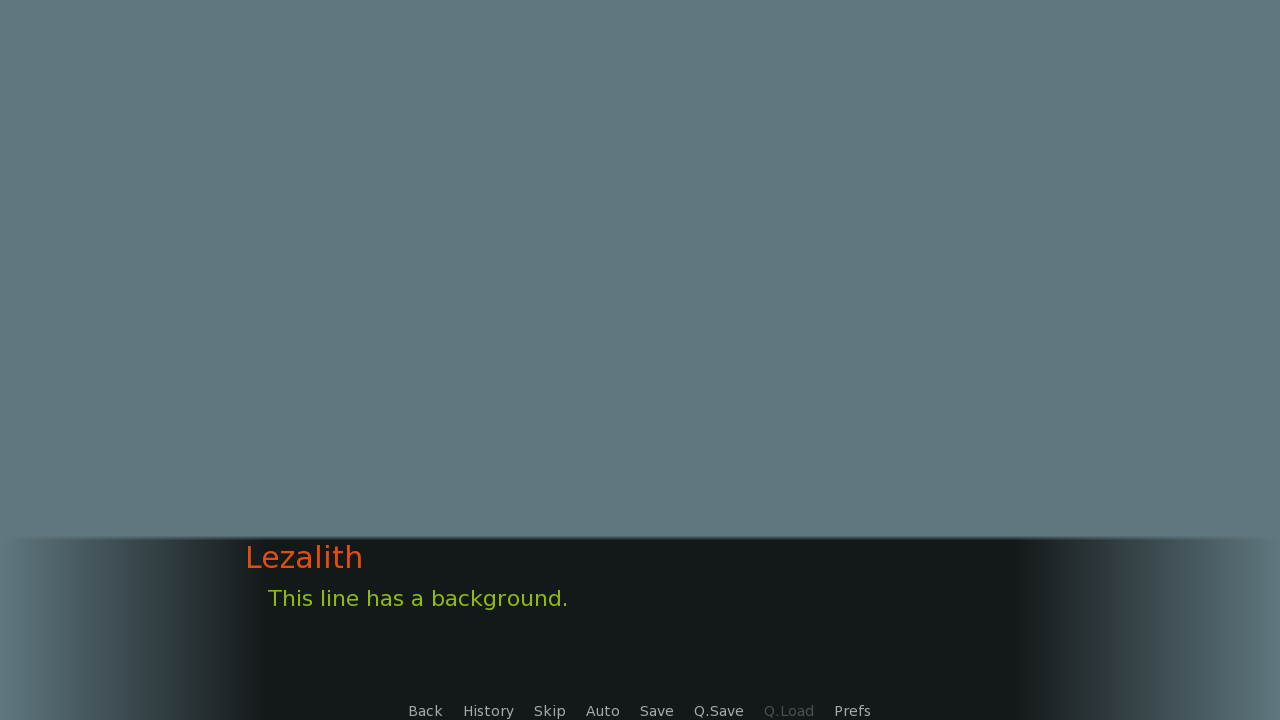
And that's it. That's all you need to show a background image to your audience.
define l = Character("Lezalith",
who_color = "00FF00",
what_color = "FF0000")
image ourBackground = "gui/main_menu.png"
image icon = "gui/window_icon.png"
label start():
l "This line takes place without a background."
scene ourBackground
l "This line has a background."
show icon
l "This line has a background and a sprite."
...We're not slowing down. See the code above? We defined another image, icon, and used the show statement to show it. The result will be the same as it was when we showed ourBackground.
The difference between scene and show statements is that scene can only show one image at a time. Using scene while it's already showing an image will result in the original being replaced. Contrary to that, show just shows the image and doesn't care whether there's one already present.
This makes the scene statement ideal for showing background images while keeping the show statement for all the other things, like character sprites.
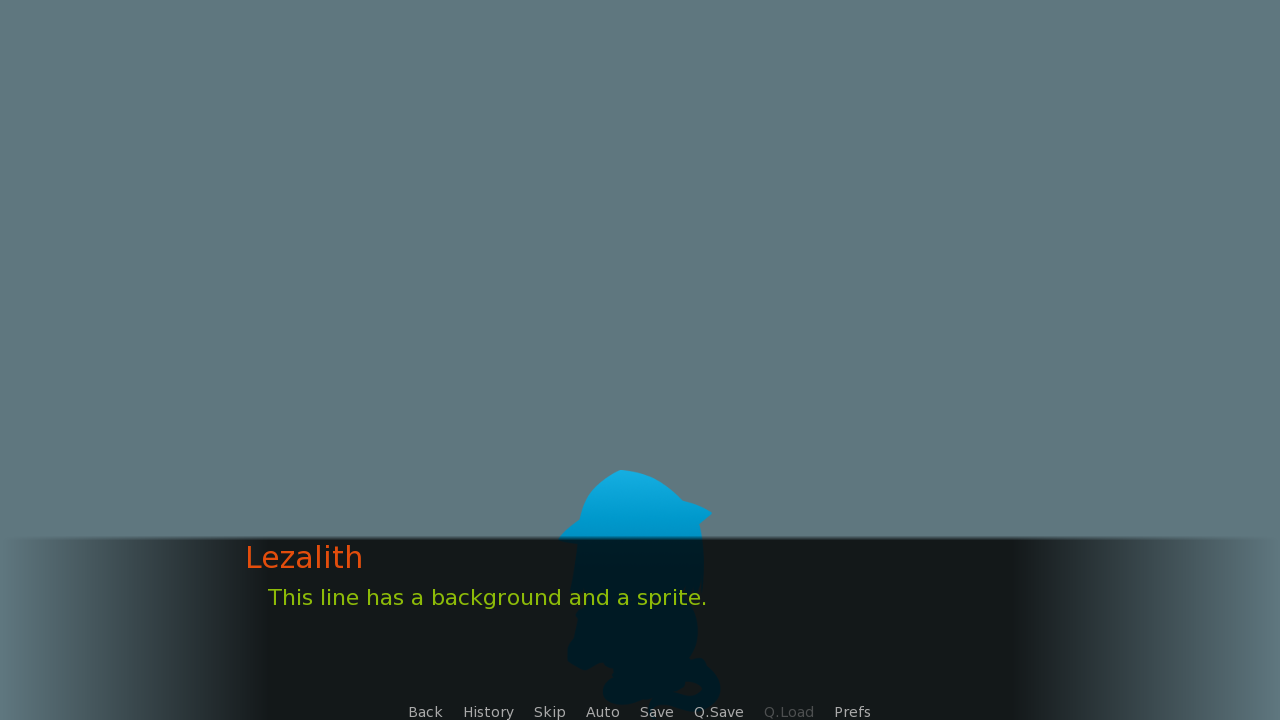
And that's how you show images in labels. I'm so proud of you for reaching this point, it seems like it was only yesterday when you still haven't known about images, and look at you now! Not only you can show images, you can also hide them!
I... I did... show you how to hide them, didn't I..?
Um, t-that's awkward. Let me fix that really quickly.
define l = Character("Lezalith",
who_color = "00FF00",
what_color = "FF0000")
image ourBackground = "gui/main_menu.png"
image icon = "gui/window_icon.png"
label start():
l "This line takes place without a background."
scene ourBackground
l "This line has a background."
show icon
l "This line has a background and a sprite."
hide ourBackground
l "Background got hidden."
hide icon
l "Sprite got hidden."
returnTo hide what we've shown with both the scene statement and the show statement, there's the hide statement. Now that's a lot of statements.
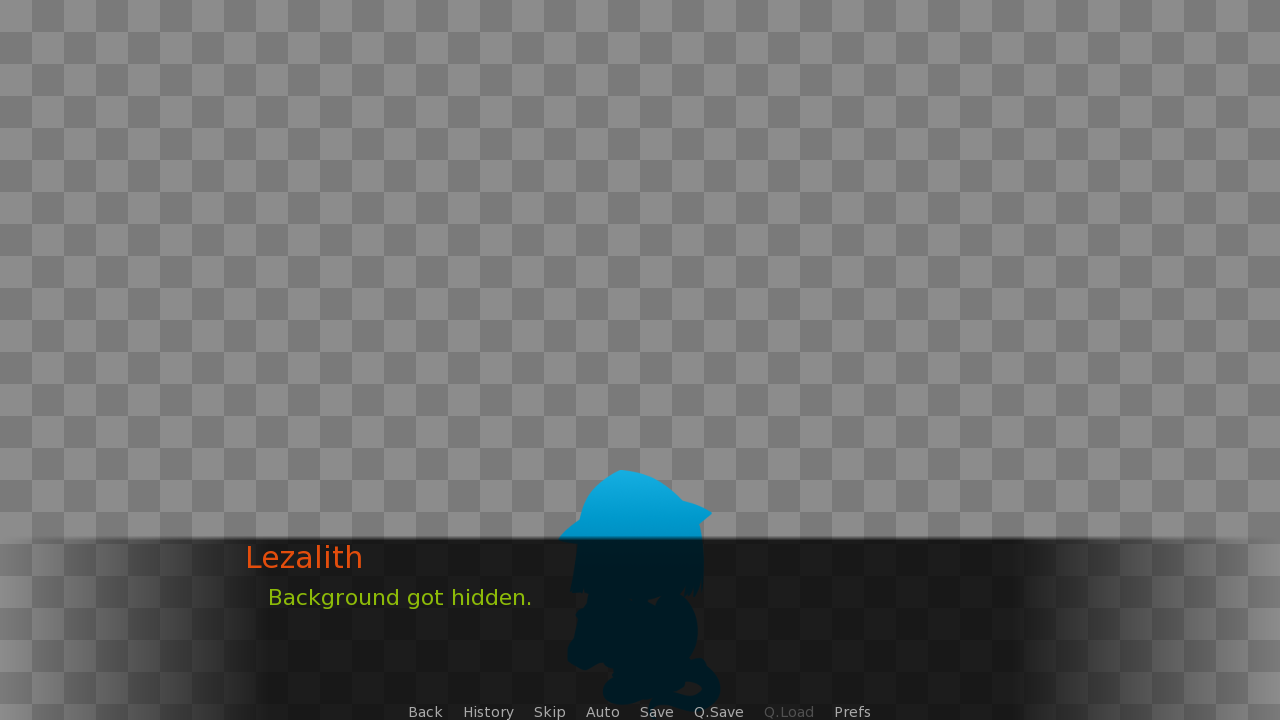
This is what we see after we hide ourBackground. And once we hide even the icon, we'll be able to see the final line of dialogue.
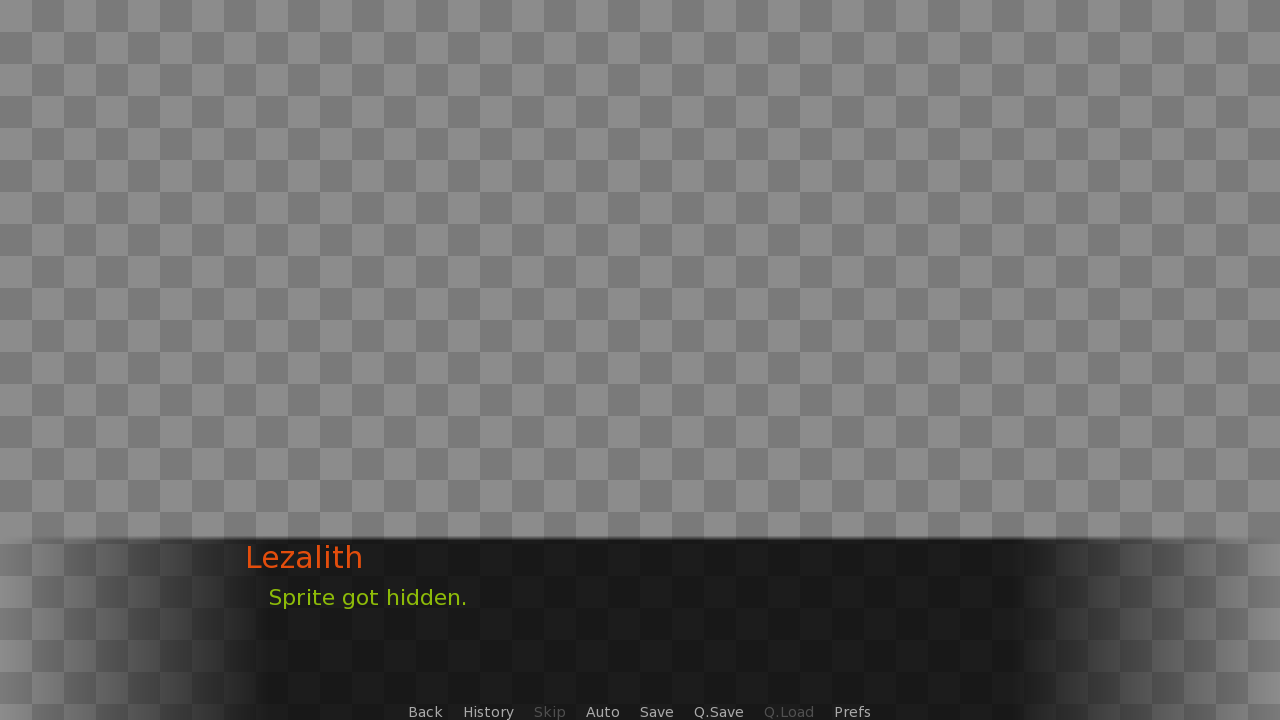
Even though there aren't many lines of code, there's still plenty going on here, and I understand if it feels a little overwhelming. Why don't I go ahead and summarize everything with the help of comments, which we have mentioned at the beginning of this tutorial?
# Defines my speaking Character.
define l = Character("Lezalith",
who_color = "00FF00",
what_color = "FF0000")
# Defines images that will be used.
image ourBackground = "gui/main_menu.png"
image icon = "gui/window_icon.png"
# Defines the start label.
label start():
l "This line takes place without a background."
# Shows a background via the "scene" statement.
scene ourBackground
l "This line has a background."
# Shows a sprite via the "show" statement.
show icon
l "This line has a background and a sprite."
# Hides the background.
hide ourBackground
l "Background got hidden."
# Hides the sprite.
hide icon
l "Sprite got hidden."
# Return back to the menu.
returnAnd that's the end of today's lesson! What have we learned this time?
- What comments are
- What the image statement is for
- How to show backgrounds with the scene statement
- How to show other images with the show statement
- How to hide images with the hide statement
You've probably noticed that when we showed the sprite, it was at the bottom of the screen, almost entirely covered by the textbox. That's because all images shown with show are placed at the bottom middle by default. In the next tutorial, we'll learn how to change that with transforms!