
Screen Language #3
frame and fixed statements, Displayables
Welcome to a tutorial series on screen language.
What is screen language? It is Ren'Py's way of coding screens - Be it the Main Menu, the Save or the Load screen, or, of course, something different altogether.
I've been very excited to write these, because I've spent hundreds of hours working with screen language, and I want to pass on some knowledge.
So, without further ado, let's continue!
Today we're diving right into the frame statement.
screen ourScreen():
frame:
xysize (500, 500)
align (0.25, 0.25)
# The game starts here.
label start:
call screen ourScreen
returnThe frame statement creates a "frame". It is a rectangular area that has a background and few pixels of padding by default.
The frame also likes to stretch out as much as it can. This is why we usually want to set size for the frame (However, notice that this property is called xysize, since size is usually used as a text property for font size).
And of course, my favorite align. I intentionally didn't align it to the center of the screen, and soon you'll see why.
At the end, there's also the start label, but I'm pretty sure you've gotten used to it already, so I'll omit it in further code blocks.
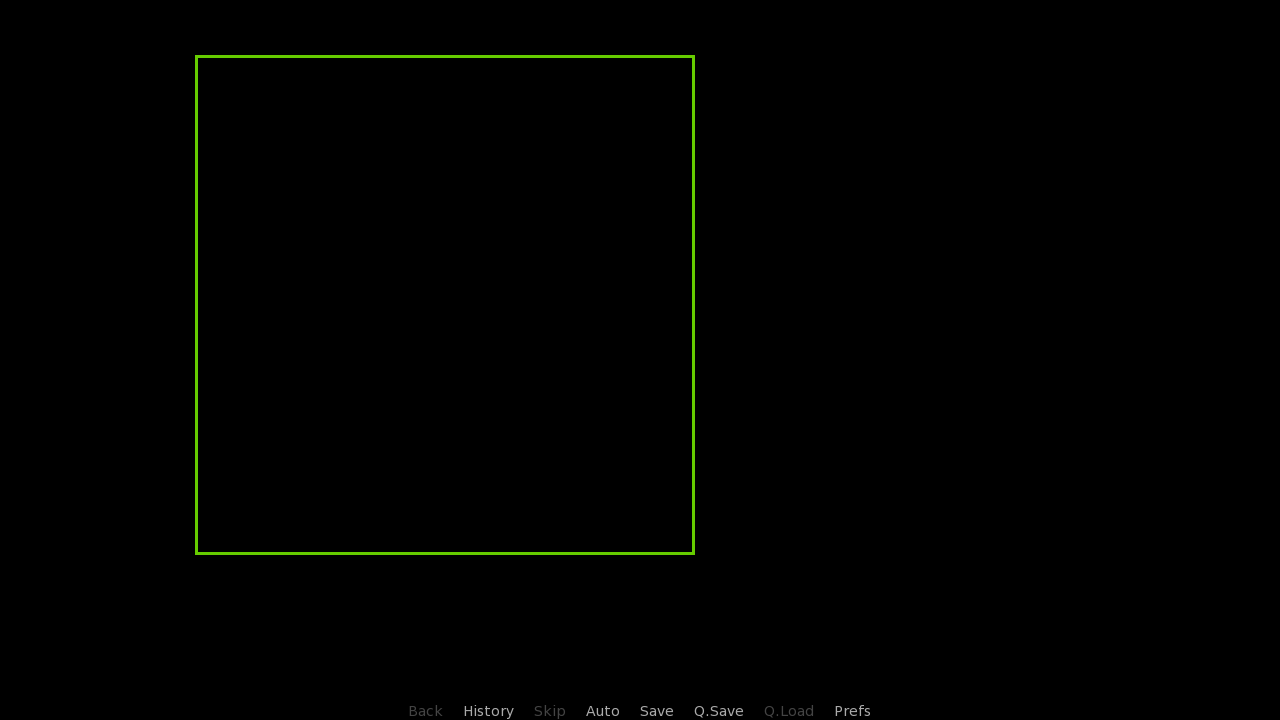
There's the rectangular frame. We have now created an area of fixed size that we can now use. Anything we add into the frame will now be positioned relative to the top-left corner of the frame, unlike the usual top-left corner of the screen.
We can quickly demonstrate that with the text statement.
screen ourScreen():
frame:
xysize (500, 500)
align (0.25, 0.25)
text "Text inside the frame."Usually, the text would appear in the very top left of the screen. But since it's inside the frame, it's positioned relative to the frame instead.
Like so:
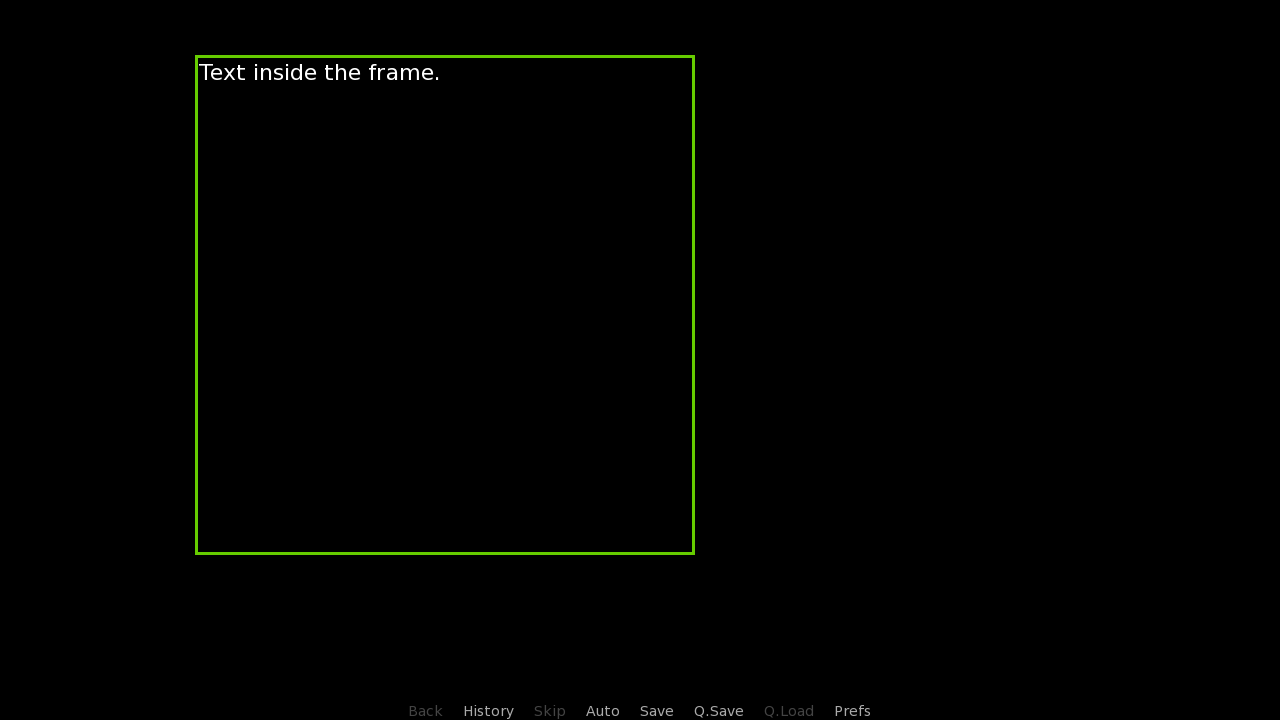
I'll provide one more example, using one vbox statement that we've learned about in the previous lesson. I'll align that vbox to the center of the frame.
screen ourScreen():
frame:
xysize (500, 500)
align (0.25, 0.25)
vbox:
align (0.5, 0.5)
spacing 40
text "First text inside the frame."
text "Second text inside the frame."
text "Third text inside the frame."The result:
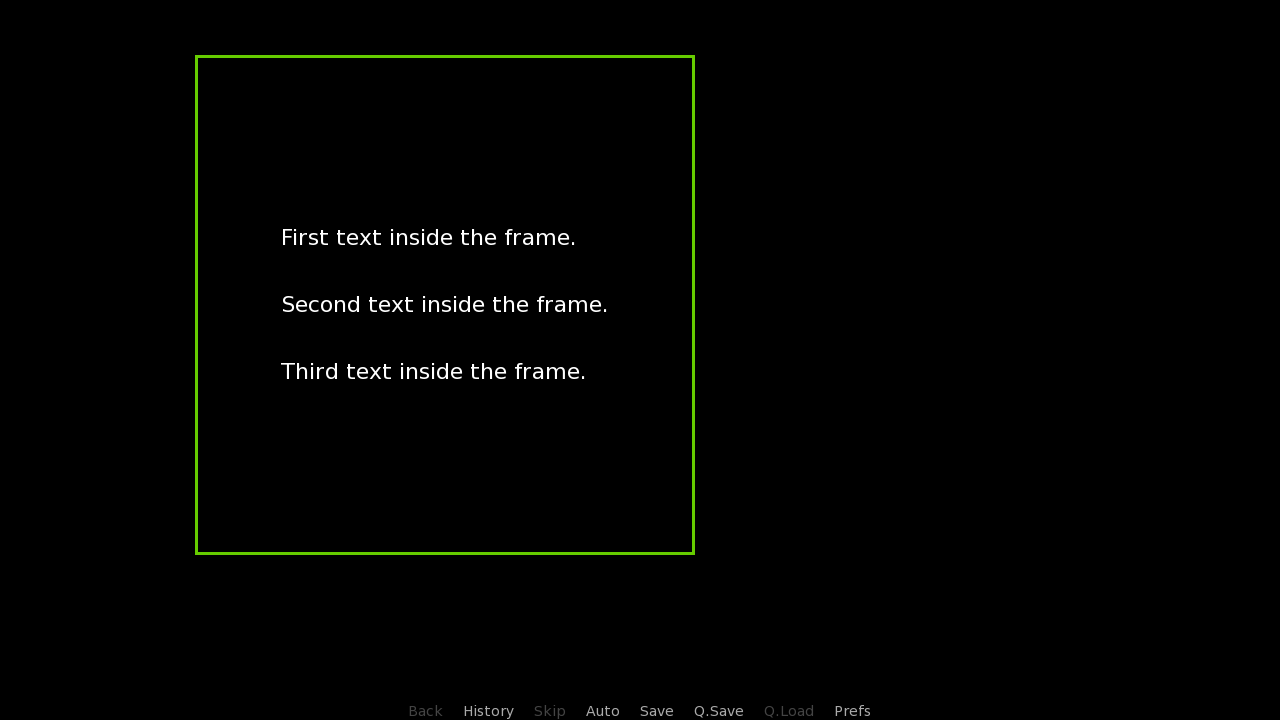
I also want to mention the fixed statement. It is very similar to the frame, except that it functions as an area only - it has no default background or padding.
If we were to use the exact same code again, only changing the frame statement to the fixed statement, we'd get the same result, only without the background.

Alright, that's about it on frames and fixeds. Next, we'll be discussing displayables.
A displayable is something that can be shown to the player. There are quite a few of them, and they can be defined in two different ways - using the define statement or the image statement. Once it is defined, we can use it in screens (although they can be used with show or scene statements in labels, too).
Probably the simplest displayable is the Solid, which creates an area of a single color, given via a hex code. We will now use it to create an area of white, so that we can use it as the background of our screen. Since the Solid, just like the frame, also likes to stretch out, just one will fill the entire screen.
define whiteDefined = Solid("fff")
image whiteImaged = Solid("fff")
screen ourScreen():
add whiteDefined
# add "whiteImaged"
frame:
xysize (500, 500)
align (0.25, 0.25)
vbox:
align (0.5, 0.5)
spacing 40
text "First text inside the frame."
text "Second text inside the frame."
text "Third text inside the frame."The add statement is all we need. Using the frame, we can now see that it indeed does have a background that we couldn't see before.
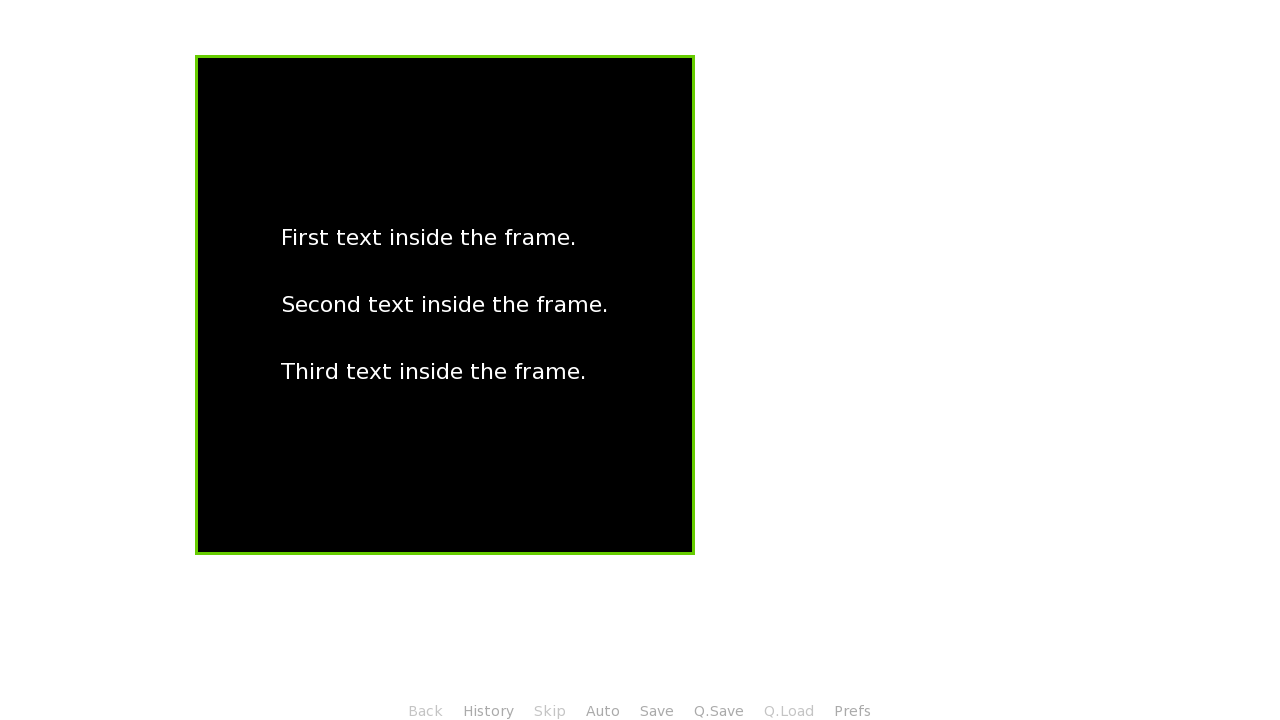
If the displayable was defined with the define statement, we'll want to just use the name. However, defined images need the name in quotes. Personally, I prefer using define, so I'll stick to it in the next code block.
Finally, I'd like to show you more displayables, so that you're not afraid to use them. Aside from the Solid, I've chosen two more: Frame and Composite.
define whiteDefined = Solid("fff")
define SolidExample = Solid("f80", xysize = (100, 100))
define FrameExample = Frame("gui/frame.png", xysize = (200, 200))
define CompositeExample = Composite((200, 200),
(0, 0), FrameExample,
(35, 35), SolidExample,
(35, 35), Text("Hey everyone!", size = 22, color = "00f" )
)
screen ourScreen():
add whiteDefined
add SolidExample align (0.25, 0.5)
add FrameExample align (0.5, 0.5)
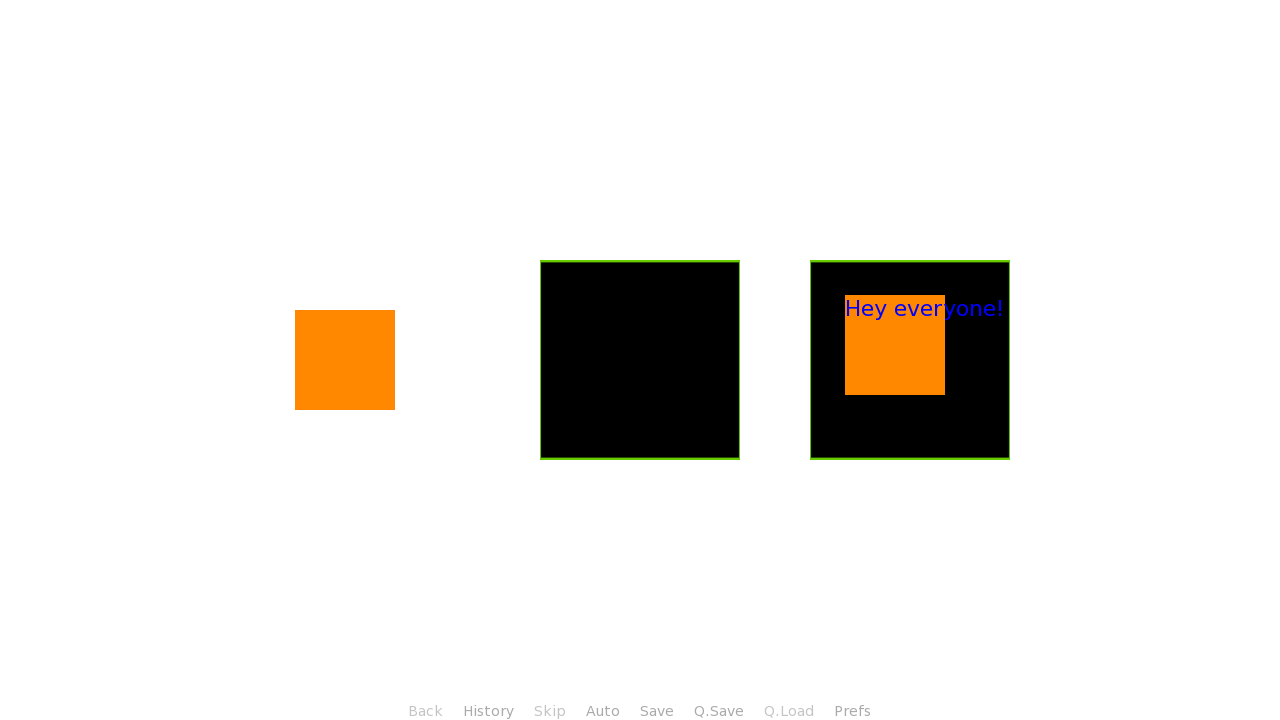
add CompositeExample align (0.75, 0.5)We're keeping the whiteDefined Solid for the white background, and adding three more defined displayables.
- First, another Solid. One of the advantages of using displayables is that you can define some properties, like positional ones, right then and there - You don't have to write it inside a screen.
f80 is the hex code of the orange color. - Second, a Frame. Frames take an image, keep the borders the same and resize the middle to fill an area. I've used the frame.png image from the gui folder and just set the xysize, since I don't mind the default options.
- Finally, a Composite. Composites are slightly more complicated, as they require multiple arguments. They are used to make an image by compositing multiple images or displayables. I've spread out the definition over multiple lines, so that it is easier to read.
First argument, (200, 200), is the size of the whole composite - size of the area where we can put the displayables.
Afterwards, every odd argument is a tuple giving position, relative to the top-left corner of the area, where the displayable is placed. Every even argument is the displayable.
As such, the first displayable placed is the FrameExample we've defined two lines above. It is placed in the very top-left corner.
Second displayable is the SolidExample which we've also already defined, placed 35 pixels from both top and left.
Third, final displayable, is a new one, Text. This is used to create, well, text, just like when using the text screen statement. We're giving it the text to display, and two text style properties for the font size and color. This text is also 35 pixels from both top and left, so it will be in the same position and the SolidExample.
Whew, that last one was a long one.
Afterwards, all of these displayables are added onto the screen. All centered vertically, Solid placed on the left, Frame placed in the middle, and Composite placed on the right.
And the result is as follows:
Once more, this has been quite the dose of information. Let's think back at what we've learned today.
- What the frame statement does
- What frame's plain brother fixed statement does
- What are displayables
- How to define displayables and add them to a screen
- What the Solid, Frame and Composite displayables do
If you want to learn more about displayables, you can check out the wiki page, where all of them are listed. I didn't even touch on the ConditionSwitch displayable that changes images based on a variable and some more useful ones... Maybe another time, then.
Next time, we'll be learning about buttons and screen actions. It will be a very long tutorial, since there is a lot to cover in those three innocent words.
But don't worry. We'll get you through it.
And as always, thank you for reading. Have a beautiful day.