
Basics of Ren'Py #5
Menus
Welcome to Basics of Ren'Py!
These tutorials should help you understand basic features of Ren'Py. If you're new here, you should see the previous tutorials if you haven't already. You can find those Here (#1), Here (#2), Here (#3) and Here (#4).
As always, you can create a new project to be your guinea pig, or use one that you already have. I recommend writing into script.rpy, but any file will do, as long as there aren't any conflicts across files, like two different start labels.
Let's talk about a way how to really spice up our narrative.
There are Visual Novels which do not contain any choices. They do not let the player engage in the story, they just tell it to them. And that is absolutely fine! Kinetic visual novels can be really amazing. However, if you want to go beyond the linearity, you're going to want to give the player choices to pick from, and let them decide which way they want to continue on with the story.
I will need some help for this tutorial. Thankfully, the amazing Eileen has accepted my invitation to come here and offered help.
"Welcome to the website Eileen, it's so great to have you here!"
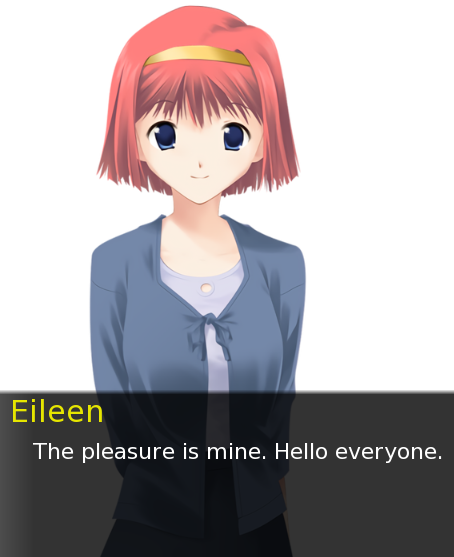
I will ask Eileen some questions and she will provide answers. To start, we'll write a label as simple as can be, with nothing that we don't recognize.
define l = Character("Lezalith",
who_color = "E34D0C")
define e = Character("Eileen",
who_color = "E6E600")
label start():
l "How have you been, Eileen?"
e "I've been doing great lately."
returnThis is the bread and butter of labels. Myself and Eileen defined as Characters, the start label followed by two lines of dialogue.
We'll also need to set up the background before we continue. The default menus we'll be seeing are usually the same black color as the default black background, and so we need to change it.
For that we use the scene statement (As you've seen in Basics #3) to set the background to a single color. Quick explanation if you're interested:
The expression statement notifies Ren'Py that whatever follows is not an image, it's a piece of code - A variable, a function, or in our case, the Solid displayable.
Solid is a displayable that represents a single color. I've chosen silver (#c0c0c0), which I think looks kinda cool.
define l = Character("Lezalith",
who_color = "E34D0C")
define e = Character("Eileen",
who_color = "E6E600")
label start():
# Silver background
scene expression Solid("c0c0c0")
l "How have you been, Eileen?"
e "I've been doing great lately."
returnWith the silver background in place we're good to go.
Now. I did say I'd ask questions.
Questions.
Plural.
And don't tell me I could just write two more lines of dialogue so that I technically ask two questions! That's a path only a wimp would take, and we, my friends, we are going to use the menu statement! It is a slightly larger chunk of new code, but please, don't be intimidated. We'll explain all of it afterwards!
define l = Character("Lezalith",
who_color = "E34D0C")
define e = Character("Eileen",
who_color = "E6E600")
label start():
# Silver background
scene expression Solid("c0c0c0")
"What should we ask Eileen?"
menu:
"Are you enjoying the spring?":
e "I am! Hopefully the readers are too."
e "Or other seasons, if they're reading this later."
"What did you have for lunch today?":
e "I've had chicken tikka masala. It was delicious!"
l "I'm glad to hear that!"
returnEileen is letting us ask her a question, but we need to decide what we want to ask her first. We start by writing the menu statement, followed by a colon. You should remember me mentioning colons create blocks of code all the way back in the first tutorial, but you've seen blocks in Basics #4, too, under the transform statement. For those who don't remember, blocks group code together, and they do this by moving successing code onto the next level of indentation.
So, we're inside the menu block. What do we write inside? We write two different strings, followed by another colon. Strings are the choices that will pop up on the screen, and they create another block.
Another block means another indentation level. This time, we'll follow up with whatever happens when either of the choices is picked. This can be anything and everything that belongs into a label. That means more dialogue, showing or scene-ing images with or without a transform and/or even another menu. Right now, some more dialogue is more than sufficient for us, as this lets Eileen answer our question.
And when the question is answered, all other blocks in the menu are skipped and we move right to the end - Back into the indentation level the menu was on. In our case, this is the indentation level of the start label block.
Finally, we finish it up the label with the return statement.
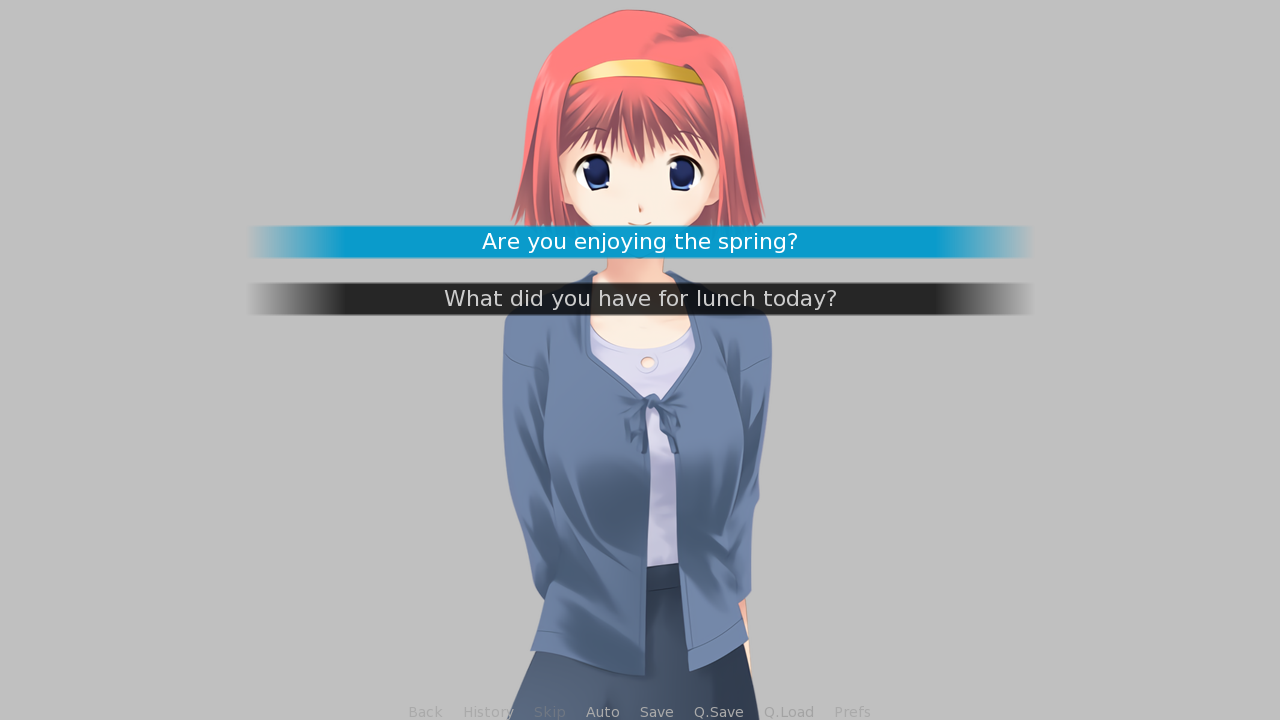
This is how that looks. The first choice is highlighted because I'm hovering over it with my cursor. The second one is its idle sister.
But that's not all. We can actually include a dialogue window right inside the menu. All that takes is moving the dialogue line a tiny bit...
define l = Character("Lezalith",
who_color = "E34D0C")
define e = Character("Eileen",
who_color = "E6E600")
label start():
# Silver background
scene expression Solid("c0c0c0")
menu:
"What should we ask Eileen?"
"Are you enjoying the spring?":
e "I am! Hopefully the readers are too."
e "Or other seasons, if they're reading this later."
"What did you have for lunch today?":
e "I've had chicken tikka masala. It was delicious!"
l "I'm glad to hear that!"
return...And it will combine the good ol' dialogue window with the menu choices. Like so:
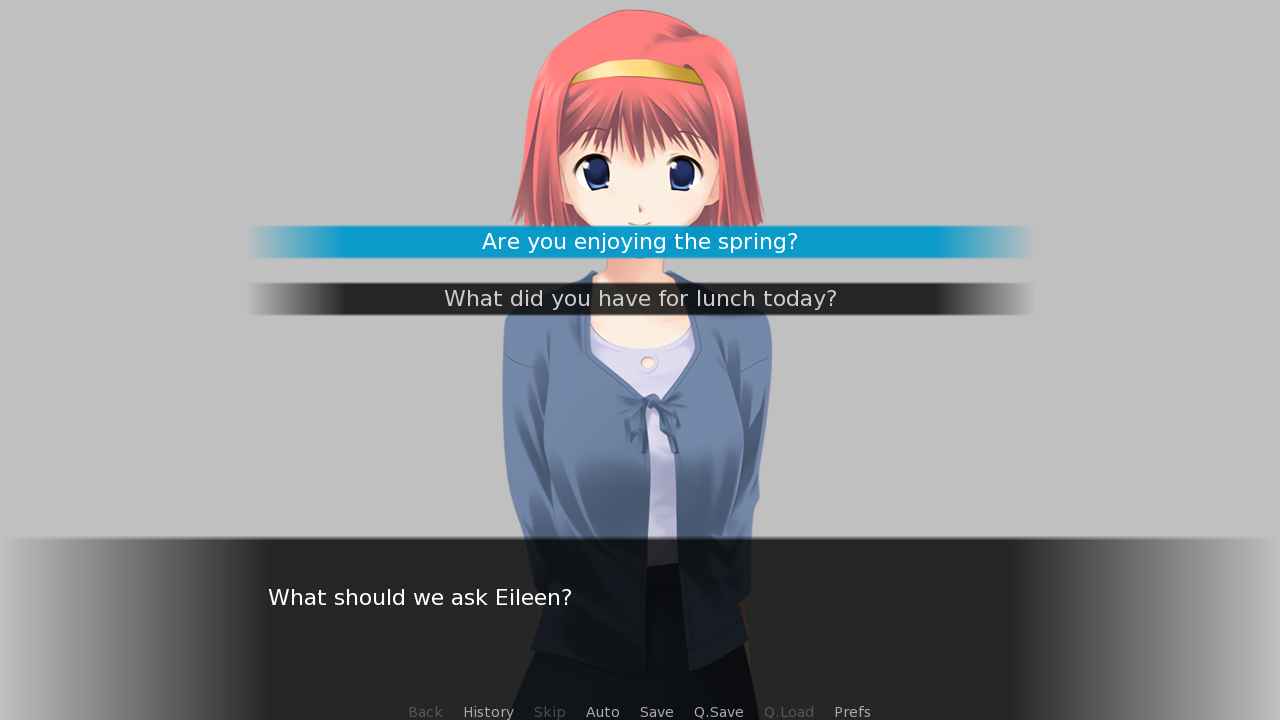
"What should we ask Eileen?" will write a dialogue without anybody's name. But I could get more personal if I wanted. Including a character by writing l "What should we ask Eileen?" would work just as well, and would include my name above the textbox, too.
I'll include this change in the final code block for you to see.
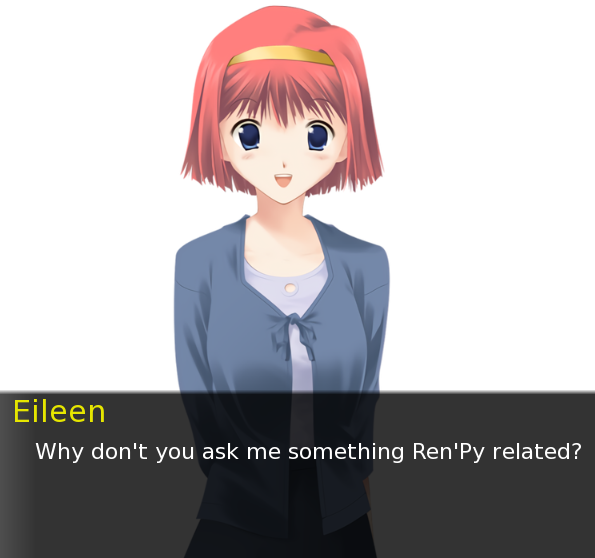
"I would love to! Do you have a specific topic you want me to ask you about?"
define l = Character("Lezalith",
who_color = "E34D0C")
define e = Character("Eileen",
who_color = "E6E600")
label start():
# Silver background
scene expression Solid("c0c0c0")
l "Can do. Hmm, let me think..."
menu:
"What's our next question for Eileen?"
"What is a Ren'Py feature some might not know about?":
e "You can show images on few different layers."
e "There are four layers by default, but you can define your own, too!"
"When was the example game, \"The Question\", first written?":
e "All the way back in the 5.6.7 release."
e "That one came out on February 4th, 2007."
l "Wow. That's a really long time ago."
l "I'm glad to know that, it's really interesting!"
returnA longer example, but very similar to the first.
Notice the purple coloured \" symbols. This is another thing we've not encountered before, called escape sequences. Normally, writing quotes would end the string, end the dialogue line. Escaping the quotes let's us use them inside the dialogue, and all it takes is a preceeding escape character, which is, most of the time, a blackslash.
Some more escape sequences include \{ to write a curly bracket without beginning a tag, \\ to write a backslash alone, or even \n, which puts text that follows onto a new line.
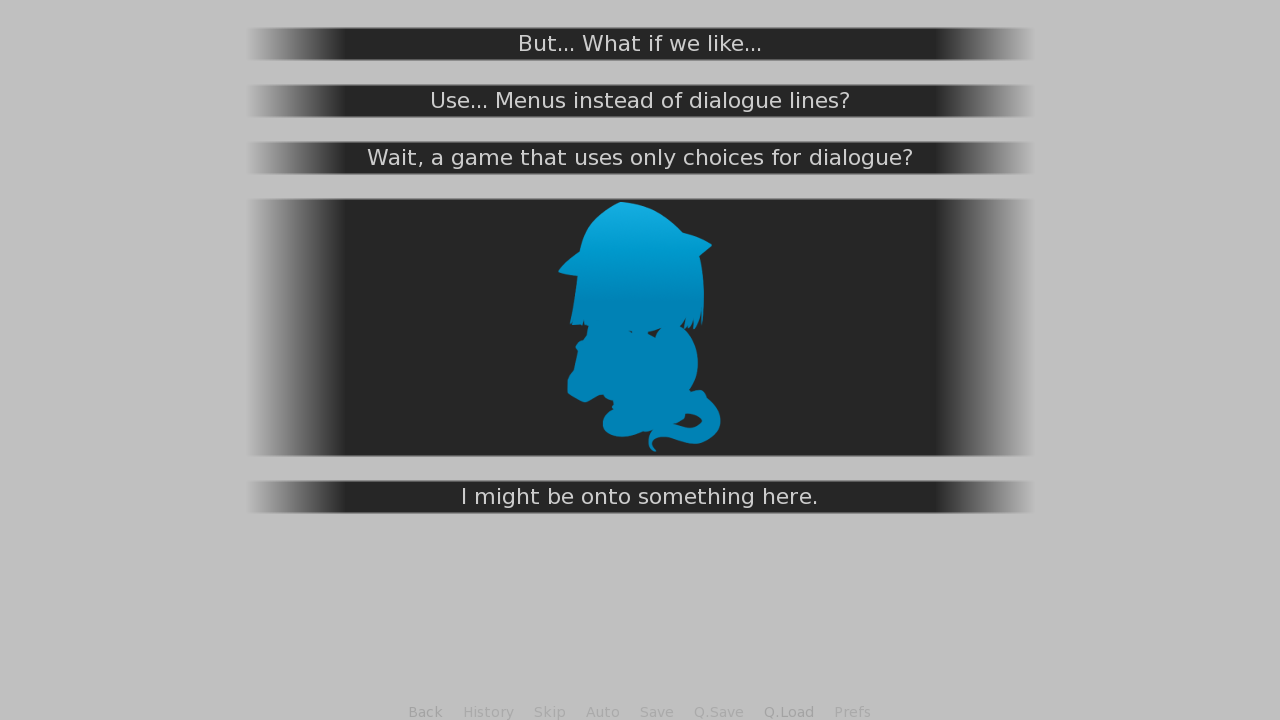
I was going to make a point about how you can style the menu choices just like you can regular dialogue (i.e. with text tags (Basics #2) and more that we haven't learned about yet) and had actually decided to use the {image} tag, which I haven't used myself before. Gotta say, I am not disappointed in the least.
This is another thing I'll include in the last code block so you can see it for yourselves.
Time for our usual summary. What have we learned this time?
- What the expression statement does in combination with the Solid displayable
- What the menu statement is for
- How to add multiple choices into the menu
- Onto which indentation level are things inside the different blocks put
- What escape sequences are and how to use them
Thank you for sticking around.
"And many thanks to Eileen for joining me today, too. Couldn't have done it without you."
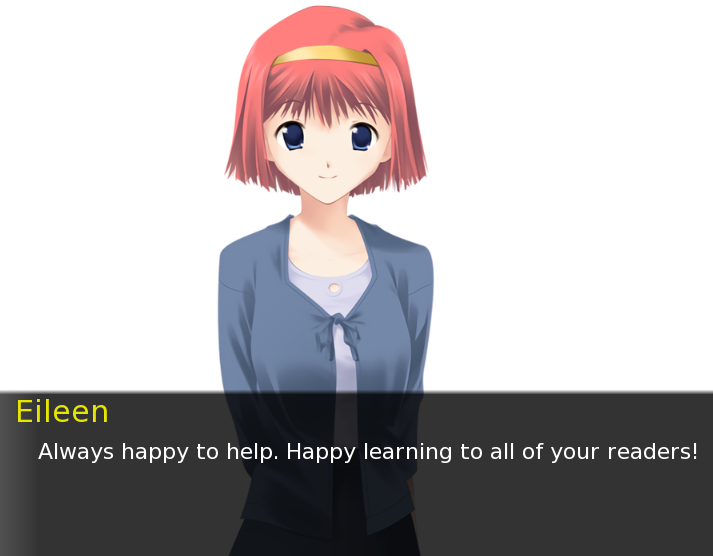
You might've noticed that Eileen is in my screenshots of the code, but if you try this code for yourselves, Eileen won't be present. Yes, because she's not included in default projects, and I've had to have added her image into the project myself. It's a file called eileen happy.png in the images/ folder, shown with a transform property so that she shows in the middle.
If you want to have her join your code, get her image file from the Ren'Py tutorial game, <Ren'Py Directory>/tutorial/game/images/eileen happy.png, or from here, to save yourselves the trouble of finding her.
define l = Character("Lezalith",
who_color = "E34D0C")
define e = Character("Eileen",
who_color = "E6E600")
label start():
# Silver background
scene expression Solid("c0c0c0")
# Show Eileen
show eileen happy:
xalign 0.5
l "Can do. Hmm, let me think..."
menu:
l "What's our next question for Eileen?"
"What is a Ren'Py feature some might not know about?":
e "You can show images on few different layers."
e "There are four layers by default, but you can define your own, too!"
"When was the example game, \"The Question\", first written?":
e "All the way back in the 5.6.7 release."
e "That one came out on February 4th, 2007."
l "Wow. That's a really long time ago."
# I told you I'd include it!
"{image=gui/window_icon.png}":
# I was too lazy to come up with something that
# would connect with the last dialogue line, so I
# just gave it the pass statement so that this choice does nothing.
pass
l "I'm glad to know that, it's really interesting!"
returnWhew, this was a long one. Again, thank you for reading my tutorial. What should be in the next one? I've had a request for part #2 of transforms, although using Python variables is also a very appealing topic.
I think I'll keep it a mystery for now. And if you're reading this by the time Basics #6 came out, it's either because you're reading Basics out of sequence (Which you probably shouldn't!), or because you're re-reading them (Which is great, thank you so much!).