Screen Language #1
Defining screens, screens syntax, add and null statements
Welcome to a tutorial series on screen language.
What is screen language? It is Ren'Py's way of coding screens - Be it the Main Menu, the Save or the Load screen, or, of course, something different altogether.
I've been very excited to write these, because I've spent hundreds of hours working with screen language, and I want to pass on some knowledge.
So, without further ado, let's begin!
To start, create a fresh Ren'Py project. When you're done, open up the script.rpy file, and delete most of the contents. We can keep as little as this.
# The game starts here.
label start:
returnRight now, starting the game would do nothing - It would start, but instantly return to the main menu.
What we want our game to do when it Starts is to show the screen that we're working on. There are two ways to bring up a screen: calling it or showing it. While both call and show make us enter a screen, there is a big difference between too. But that won't be that important while we're learning the basics - So let's keep the topic for another time.
# The game starts here.
label start:
call screen ourScreen
returnCalling a screen from a label is very simple. We use the call statement, followed by the screen word, which tells Ren'Py we're calling a screen rather than a label. Finally, write the name of the screen. I've chosen ourScreen, just because.
If we Start the game now, we'll run into an exception - We haven't defined the screen yet. Let's do that now. I'll also include the null statement, because a screen cannot be completely empty.
screen ourScreen():
null
# The game starts here.
label start:
call screen ourScreen
returnScreens are defined by the screen statement, followed by the screen's name, parentheses for arguments, and a colon that creates a block - Groups code on the next indentation level. Notice that the screens are defined on the top indentation level, just like labels are. This just goes to show their importance.
The only thing right now inside the screen is a null statement. Most statements in screens add something on the screen - Images, text and more. However, we won't see a thing. That's because the null statement adds nothing.
What's the point of it? Remember, a screen cannot be completely empty.
Alright, now that we got some theory covered, let's add something actually visible. I'm going to use the window_icon.png image found in the game's gui folder. As for how we're going to add it to the screen...
Well...
We're literally going to add it.
screen ourScreen():
add "gui/window_icon.png"
# The game starts here.
label start:
call screen ourScreen
returnThe add statement adds an image or a displayable onto the screen. We'll touch on displayables in the next tutorial, but they're basically a thing that can be shown on screen - Text, Image that changes based on a variable, an image resulted from combining multiple images, and more.
After the add statement we add what we want to add (Anybody else gets the feeling I'm saying add way too much in this tutorial?). In my case, a path to the window_icon.png file. Paths are always strings - surrounded by quotes.
Oh, and I removed the null statement, since it's become reduntant.

Boom, we've added a thing onto our screen!
But it's just sitting there in the default position, looking all lame. We can create another block for the add statement, where we can write transform properties. You can learn more about transform properties in my transforms tutorial.
You should note that when creating a block for a statement that takes an argument, like add's "what should be displayed", the colon goes after it.
screen ourScreen():
add "gui/window_icon.png":
align (0.25, 0.5)
size (400, 400)
# The game starts here.
label start:
call screen ourScreen
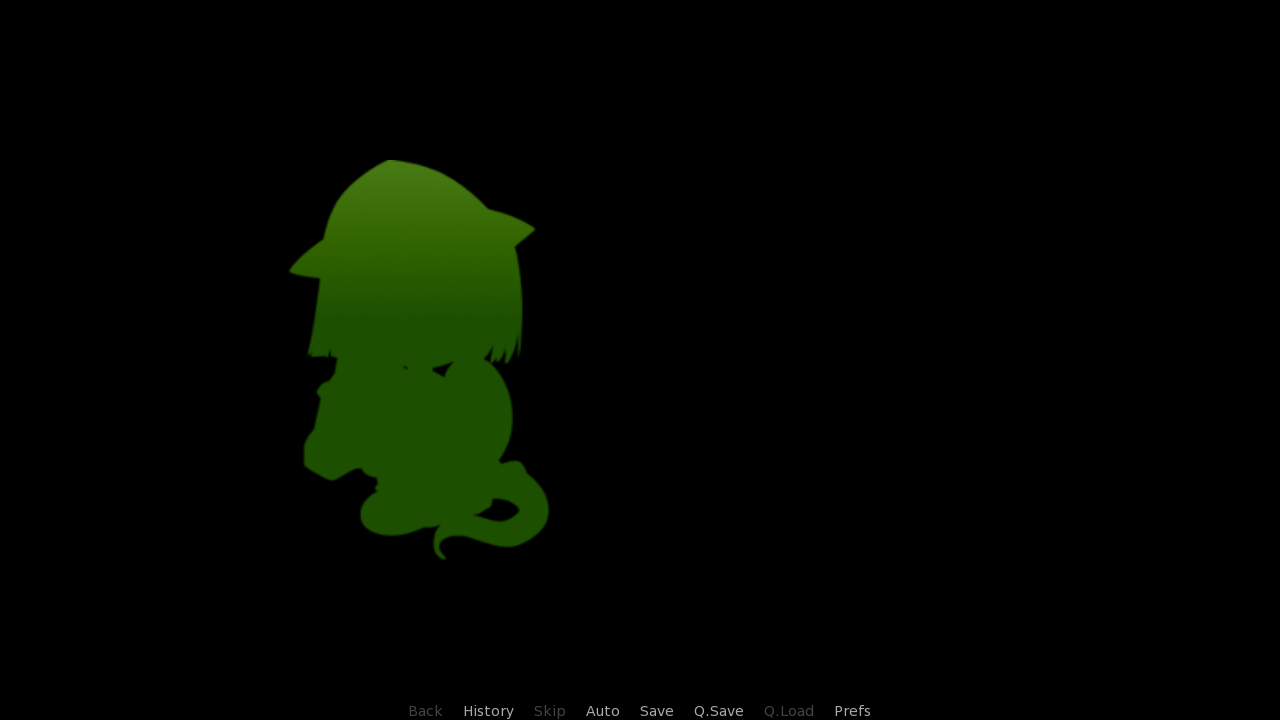
returnThe align property positions the image. Horizontal position of 0.25 puts it to the left side of the screen, and is followed by 0.5 that centers it vertically.
The size property changes the image's size (Big surprise, right?). First number is the width, second is the height.
Both of these properties used will result in the following:

And I think that's enough for the very basics. What have we learned today?
- How to call a screen
- How screens are defined
- What the null statement does
- How to add an image with the add statement
- How to apply properties to the added image
In the next tutorial, we'll learn about hboxes and vboxes. Those are used in almost every screen in the default Ren'Py project, to group images together.
Oh, and if you want to get super ahead, you can check out the Ren'Py Wiki page on Screen Language!