
Git Tutorial #5
Setting up a GitHub Account
GitHub has been beyond praised on the intro Git Tutorials page. By uploading your repositories to GitHub, GitLab or Bitbucket, you're storing them in a remote place. Here, the projects are backed up and can be shared with others.
While uploading your project onto Google Drive is cool and all, it takes a fair amount of time - especially if you want to share the project multiple times as you make progress. Through Git, it is a matter of seconds. In seconds, you can upload your commited changes, and your collaborators can download them just as fast.
For my Git tutorials, I've decided to stick to GitHub. I have two main reasons for this: I've come to really like GitHub Desktop which is based around it (who would've thought), and it is probably the most widely used one.
To use it, we will first have to create an account and deal with some configurations. That's what we'll go over in this tutorial, and in the next part, I'll show you how to actually accomplish the things mentioned above.
We can start in GHD, where under the File tab on top, we find Options that lead us to the Accounts settings.
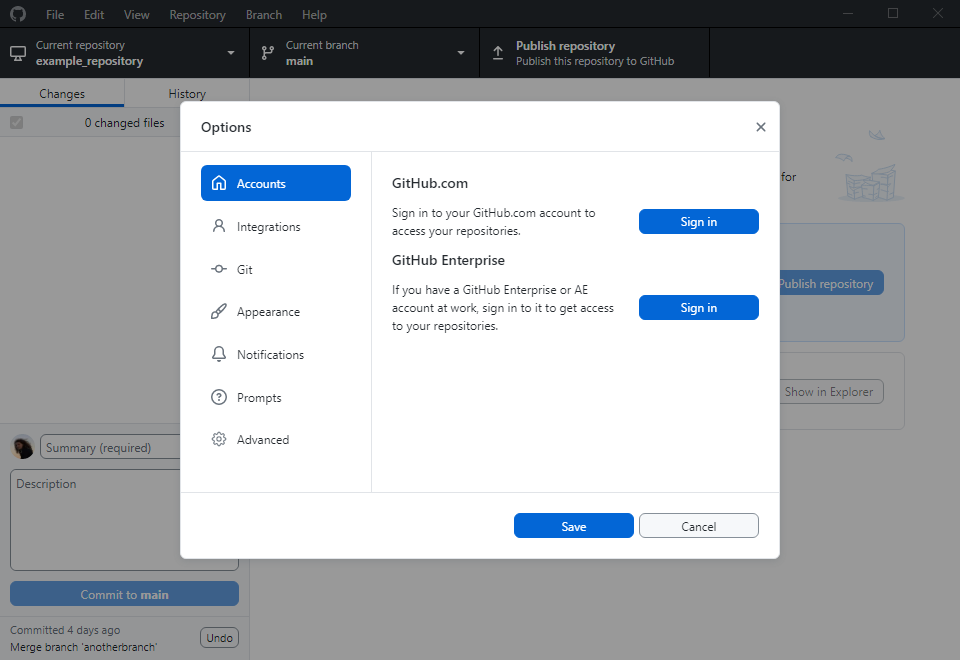
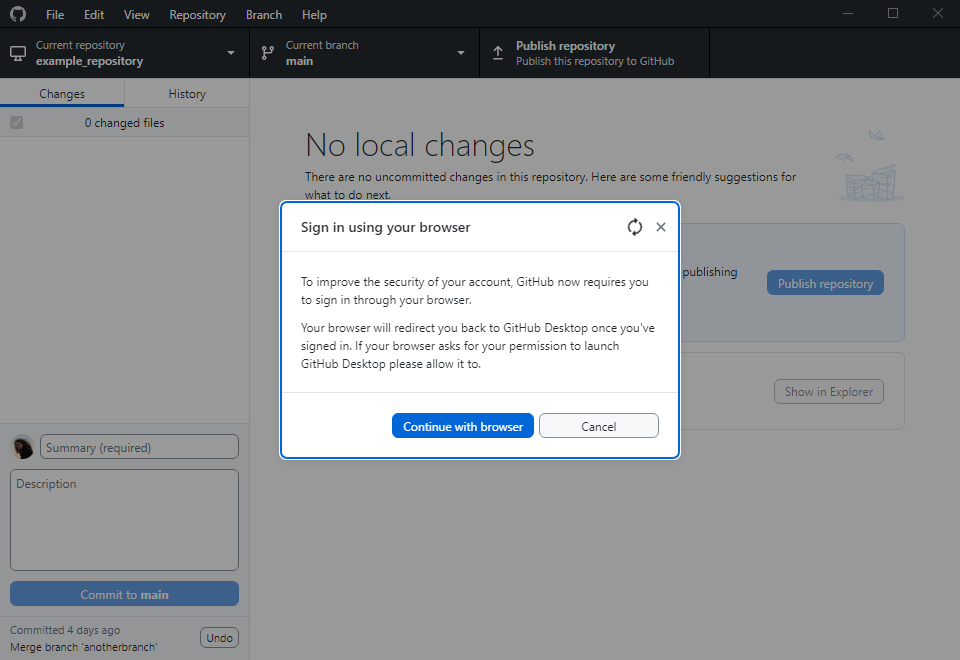
If we click the first Sign in button, we will be redirected to a browser. It says that it's due to security, which I understand, but won't bother explaining right here - let's take GHD's word for it.
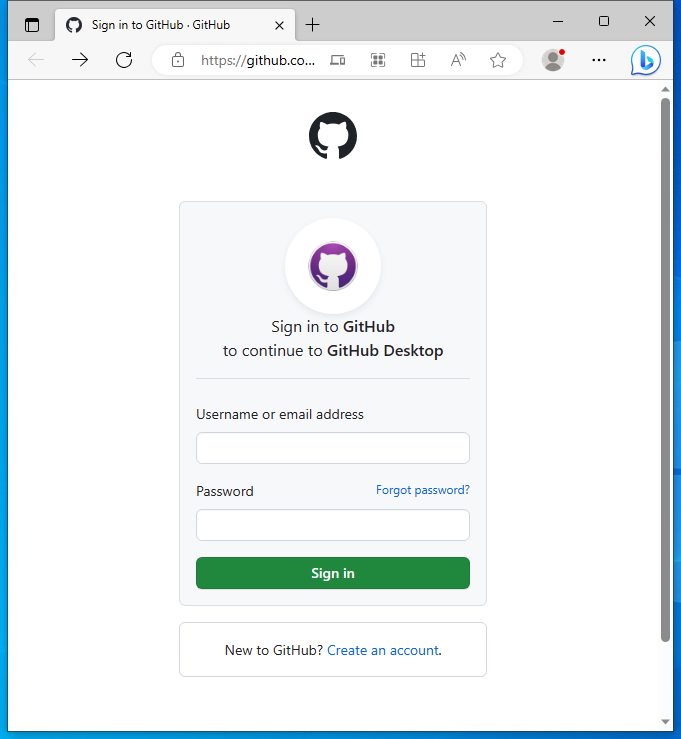
Welcome to the Login Page. Create an account at the bottom.
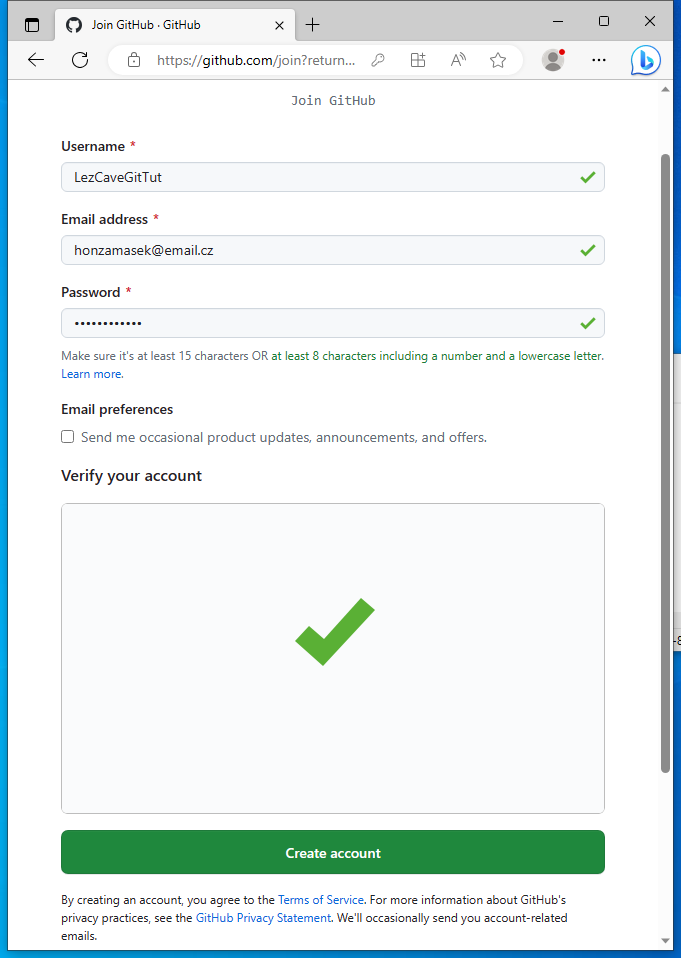
I don't think I have to teach you how to create an account. It does have pretty cool Captcha though: Multiple squares, every square has two symbols inside, choose the square with two identical symbols.
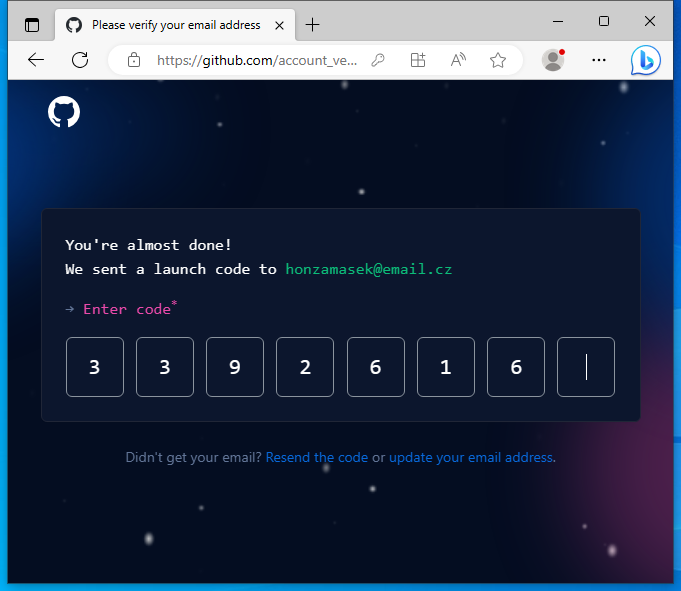
Nothing unusual afterwards, just an email confirmation. The stars in the backgrounds sparkle, and you will be automatically redirected after the last digit is inputted.
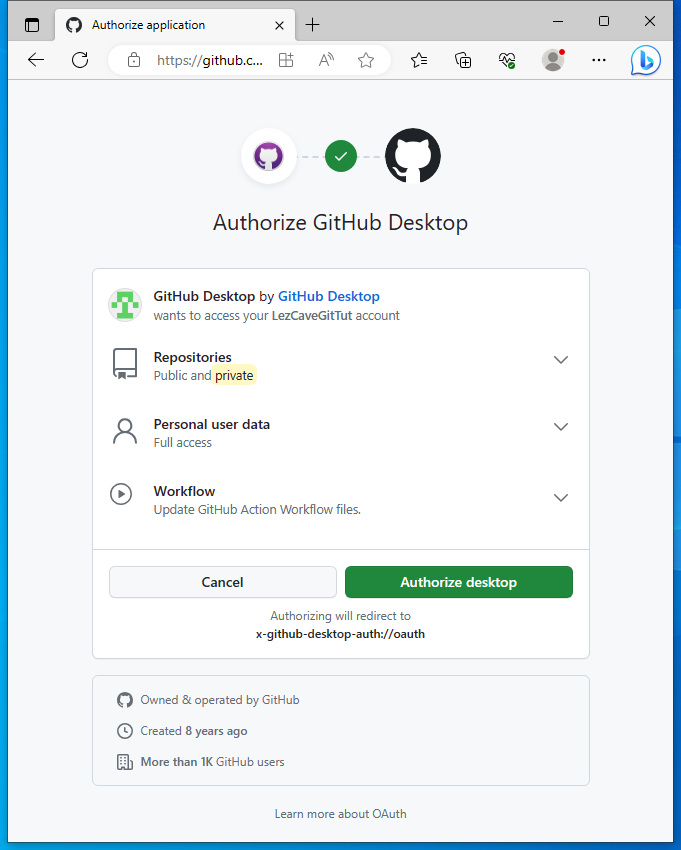
Next, we need to authorize GHD to communicate with the data and content in our GitHub account. Read the details if you want to, then Authorize desktop.
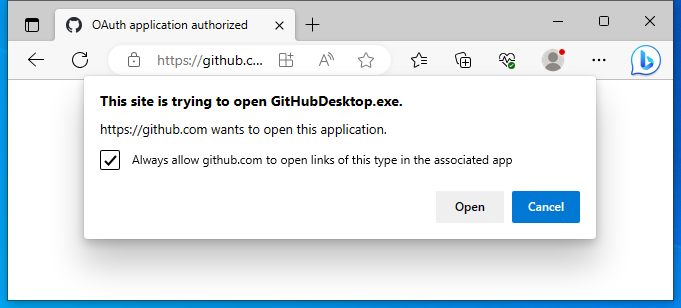
As mentioned, the page will try to redirect you back to GHD. If you allow your browser to follow these links, you will be able to use more features on GitHub inside your browser, like downloading projects through a single click.
You might need to close GHD based on how smooth the registration process inside the browser was, or open up the Options and click Sing in again.
With all that however, you should have the account connected, and it will be mentioned under the Accounts tab.
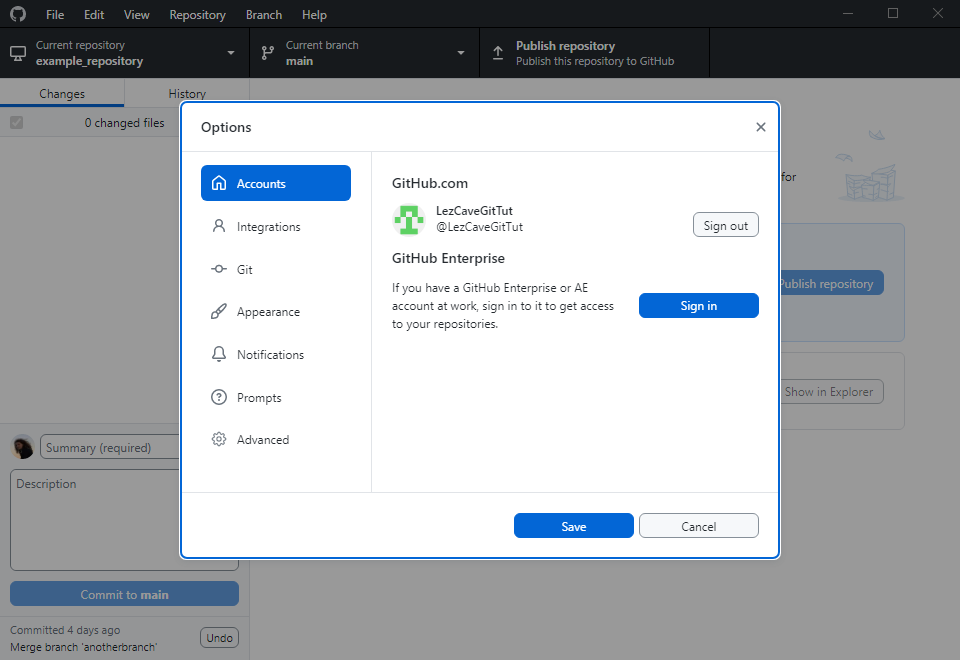
While we're in the Options, if the email of your GitHub account is different from the email we set previously through git config, we can match the two easily under Options' Git tab.
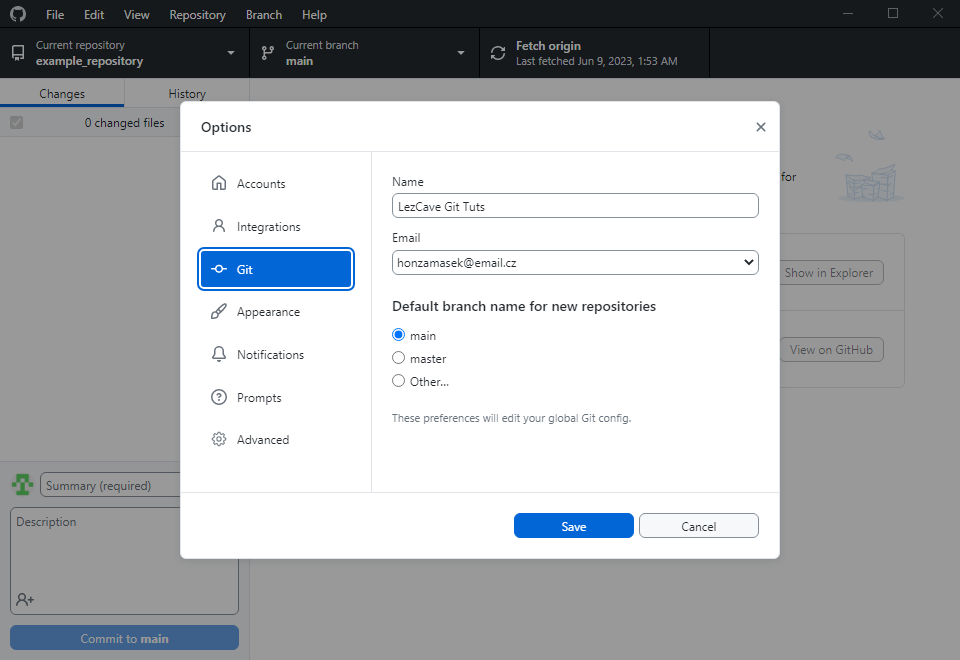
And while we're here, I also noticed something I wish I had noticed sooner: under Appearance, you can set a Dark Theme for GHD. Ahh, how I love dark themes.
At first, I thought it might be confusing to switch themes mid-tutorials, but I came up with the perfect excuse: From now on, it will help us easily determine when we're inside GHD, and when we're looking at a GitHub page inside a browser.
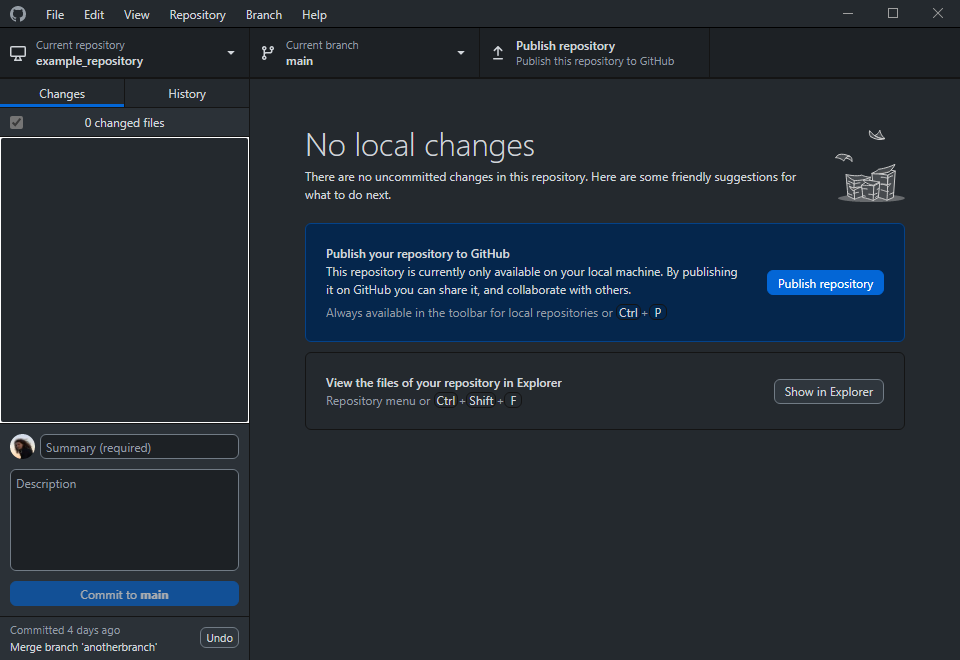
And now that the account is linked to our GHD, we can do exactly that: open up our browser and see for ourselves how the main GitHub page looks after logging in.
We're not here out of curiosity. While right now, we could manually upload our repositories, we will need to set up one more thing before we're able to actually interact with them directly from our computer - be it through GHD, Git Bash or any other program.
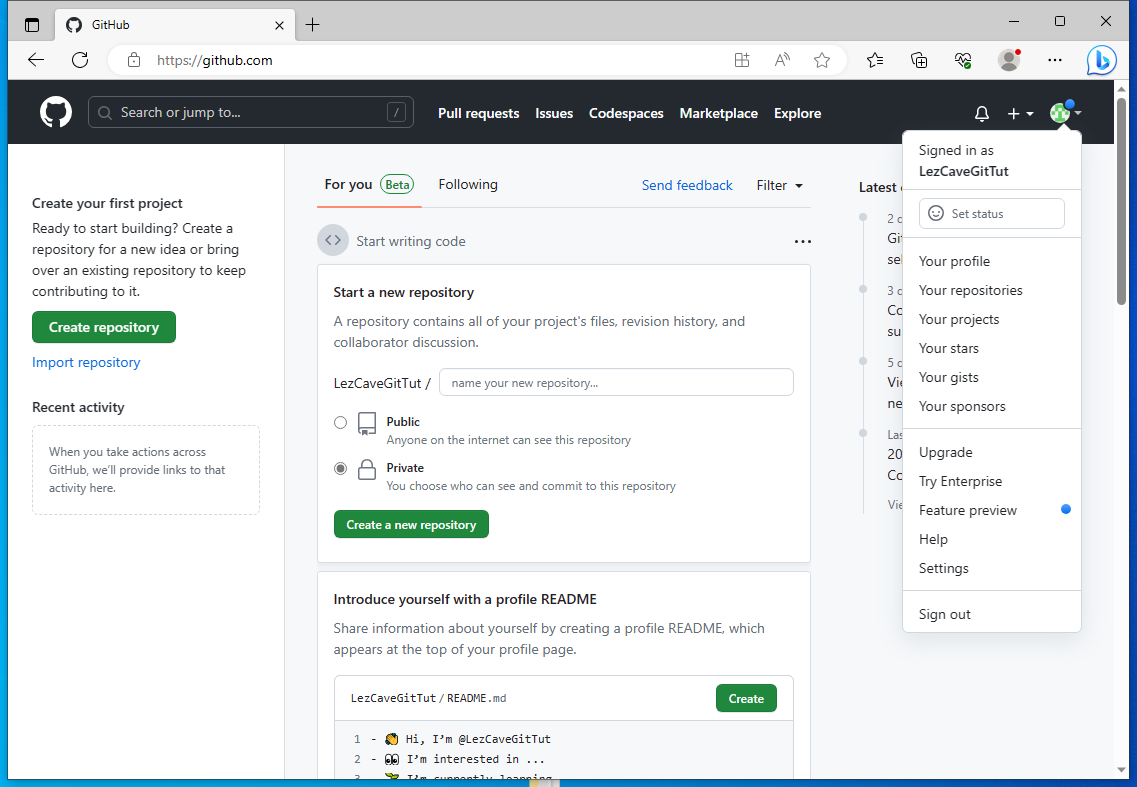
If you click the dropdown menu that is your profile picture in top right, you'll be able to enter Settings, where under the Access category, there is the SSH and GPG keys section.
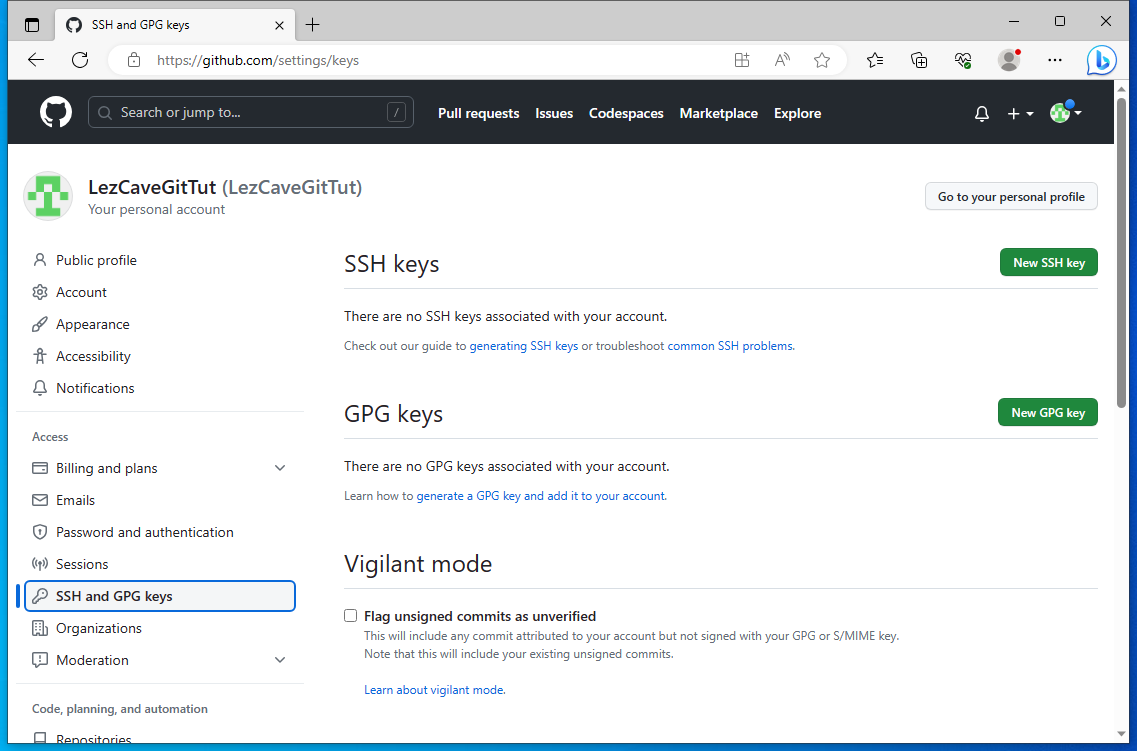
SSH keys are a security measure. When GitHub notices that someone is trying to upload new commits or download someone's repository, it needs to identify the person and the machine calling for this action. This is to check whether that person has permissions to access the repository.
This system utilizes a key-pair, which is a common security feature. It creates two separate keys - a public key which we upload to our GitHub account, and a private key which we keep on our computer. When a connection with GitHub is established, the two keys are compared to confirm the user using this machine, and the request is confirmed or rejected based on the user's permissions.
First, we have to generate a new pair of keys. Unless you messed up during the Installation, you should be able to run the ssh-keygen command from a terminal - let's use Git Bash since we've gotten so familiar with it.
The command requires two arguments:
- -t determines the algorithm used for creating this new key-pair
- -C states the email address to link to this key-pair
Knowing that GitHub likes ed25519 the most, this is what the command looks like for myself:
ssh-keygen -t ed25519 -C "honzamasek@email.cz"
After confirming it, the terminal will first ask you where to create the key files. You can leave it empty to use the default path mentioned in parentheses.
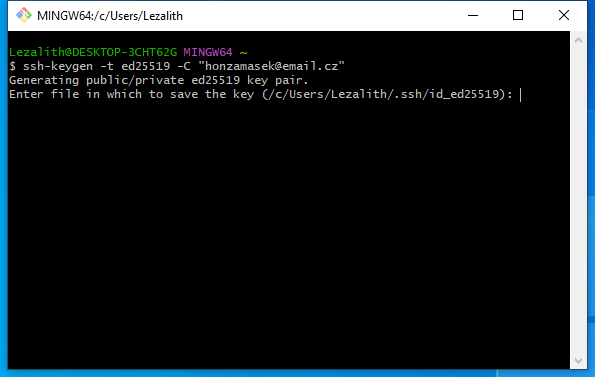
Afterwards, it will offer you the option of including a passphrase. If you do, you will be asked for this passphrase every time the key gets compared.
While you can use something called an ssh-agent to remember the passphrase - making us not have to input it every time - if the extra security isn't something you require, you can also leave the passphrase blank to not have to deal with it.
And that's it for the command. Two files get created (id_ed25519 and id_ed25519.pub) and the pair's randomart gets printed out. This randomart image is a failsafe if you were to lose your private key, so we'll go ahead and copy it.

Navigating into the folder where the keys got created, I'll first paste the randomart into a created .txt file before opening up the public key file.
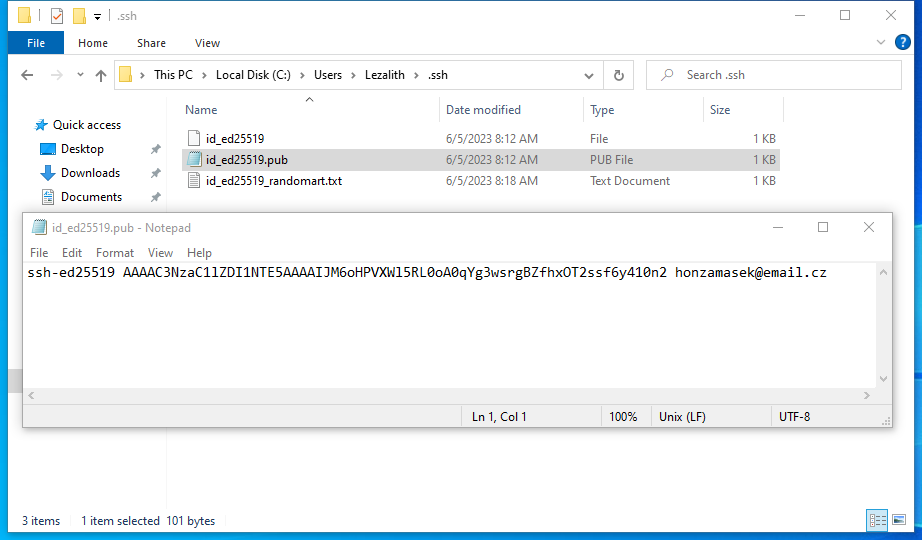
This weird bunch of symbols is the public key. This is what we want to copy and paste onto GitHub, and we can do that by going back to our browser and click the green New SSH key button.
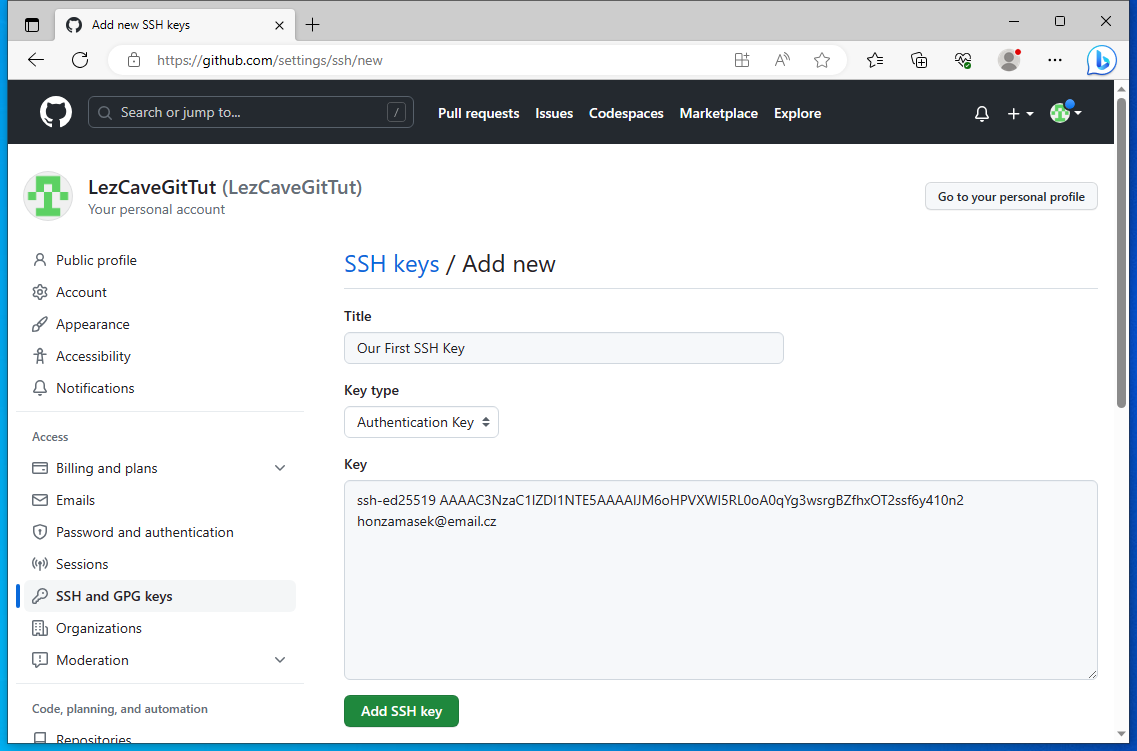
This is where we add the copied key. The title we give it doesn't really matter, but the type does. There are two types of keys GitHub recognizes:
- Authentication Keys, which are used to confirm your identity when interacting with repositories
- Signing Keys, which double check that commits being uploaded under your name and email were indeed created on your machine
Unlike the Authentication key, having a Signing key isn't required. There's no harm including it if you want to, especially since you don't need to create a different ssh key-pair - you can use the same copied public key for both types.
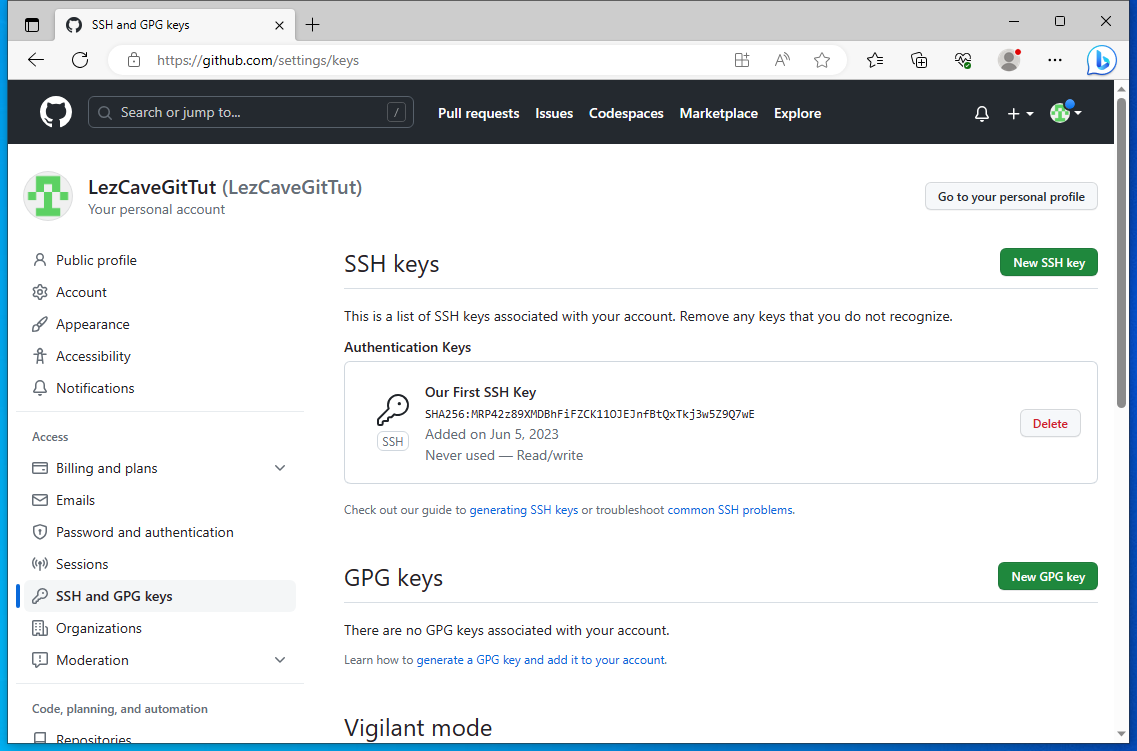
And there you go, that should be Our First SHH Key added. Under the title, we can see the key's fingerprint, which you might have noticed inside the terminal above key's randomart once it was done generating.
And that's all the setup required. This was a very theoretical tutorial, but I assure you that it was completely necessary.
Usual summary time. Today, we have:
- Created a GitHub account
- Linked this account to our GitHub Desktop
- Generated an ssh key-pair
- Added a public key into our GitHub as an Authentication Key
With the setup done, we will be able to move at top speed in Part #6, where we actually start working with GitHub to upload our repository onto it, backing it up.