
Screen Language #2
text, hbox and vbox statements
Welcome to a tutorial series on screen language.
What is screen language? It is Ren'Py's way of coding screens - Be it the Main Menu, the Save or the Load screen, or, of course, something different altogether.
I've been very excited to write these, because I've spent hundreds of hours working with screen language, and I want to pass on some knowledge.
So, without further ado, let's continue!
To begin today, let's go back to an empty screen with only a null statement.
screen ourScreen():
null
# The game starts here.
label start:
call screen ourScreen
returnWe already know how to add an image with the add statement. Now I'll show you how to add text using the text statement.
screen ourScreen():
text "Hello everyone!"
# The game starts here.
label start:
call screen ourScreen
returnscreen ourScreen():
text "Hello everyone!":
align (0.5, 0.5)
# The game starts here.
label start:
call screen ourScreen
returnOnce we Start the project, you should see the following - text that we've provided, centered with the align property.
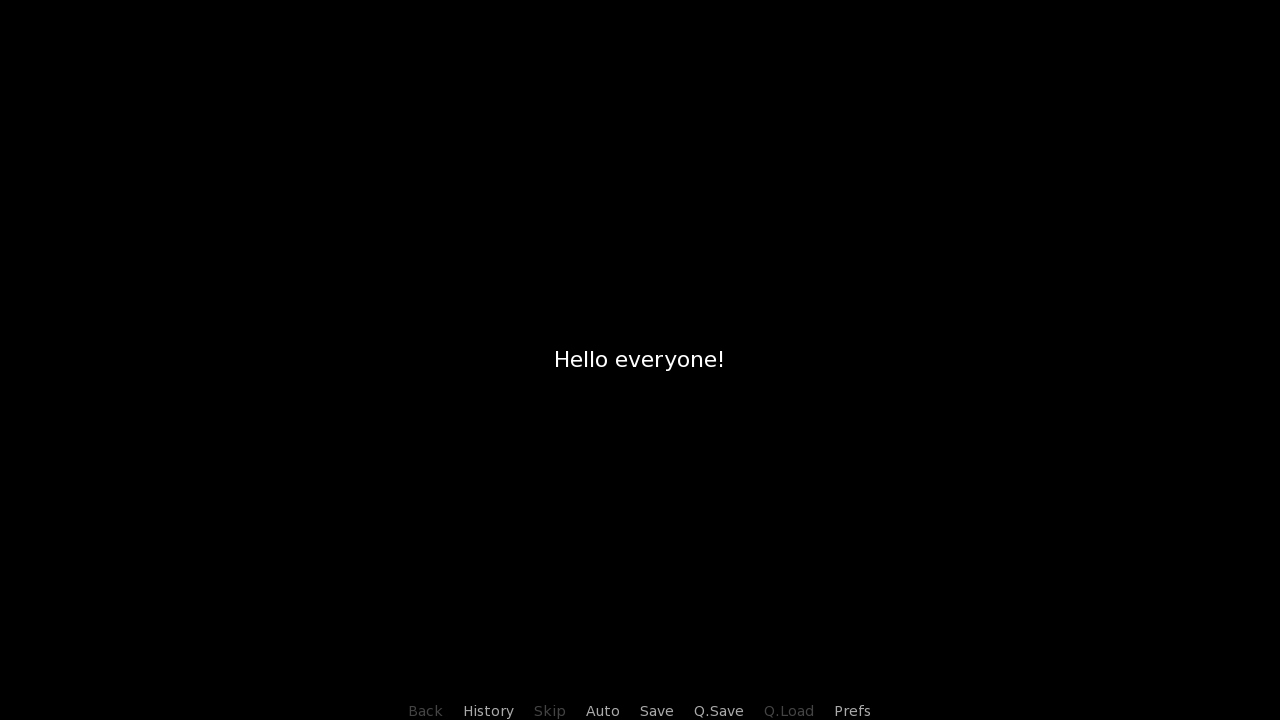
Different screen statements take (use) different style properties. While all of them can use positional properties, they also can use at least one more. For example, our text statement can take text properties - These are things like making the text bold or underlined, changing it's color, managing text spacing or adding outlines.
To demonstrate those, let's use the first three that I've mentioned:
- bold property to make the text bold. It's value can be either True or False, False by default.
- underline property to make the text underlined. It's value can also be either True or False, and is also False by default.
- color property to change the text's color. It's value is a string with a color hex code, white ("ffffff", or just "fff") by default.
screen ourScreen():
text "Hello everyone!":
# Positional properties
align (0.5, 0.5)
# Text properties
bold True
underline True
color "ff00ff"
# The game starts here.
label start:
call screen ourScreen
return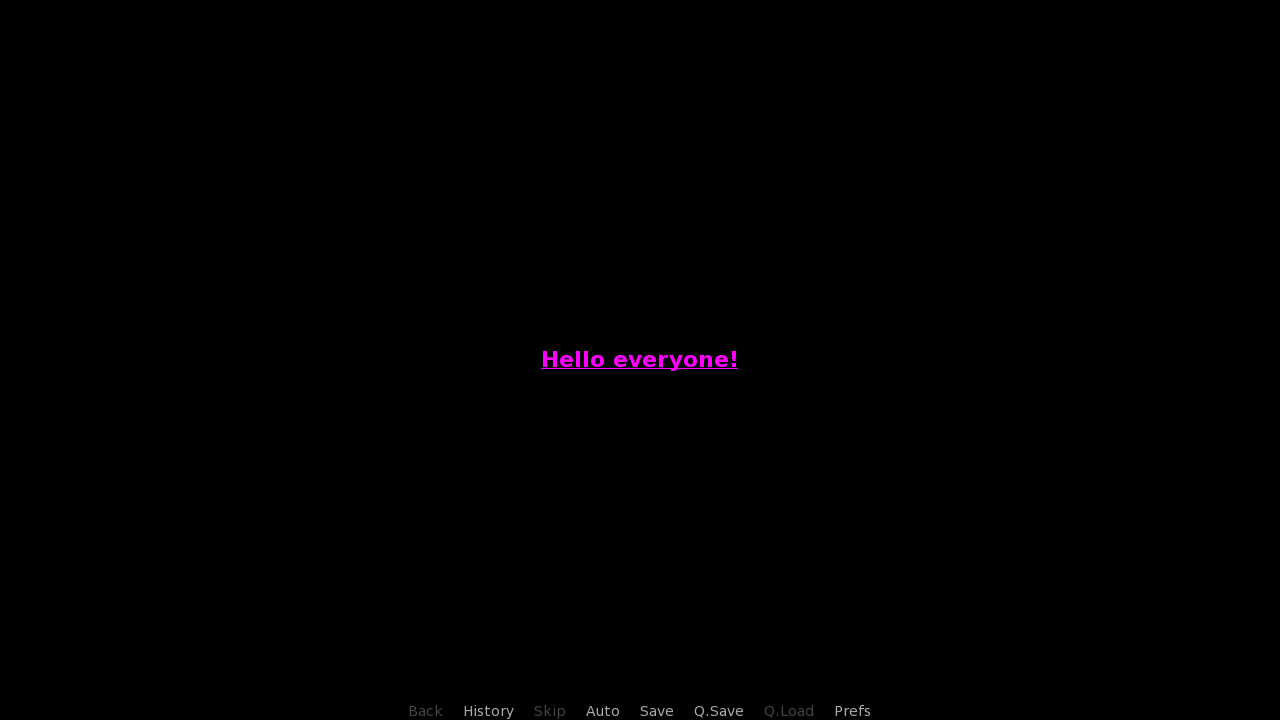
And that's it for the text statement. Go grab a glass of water, take a breather, next we're learning about the hbox and vbox statements.
hbox, which stands for horizontal box, and vbox, which stands for vertical box, are used for grouping statements together, for the purpose of either displaying them in a row (hbox) or in a column (vbox).
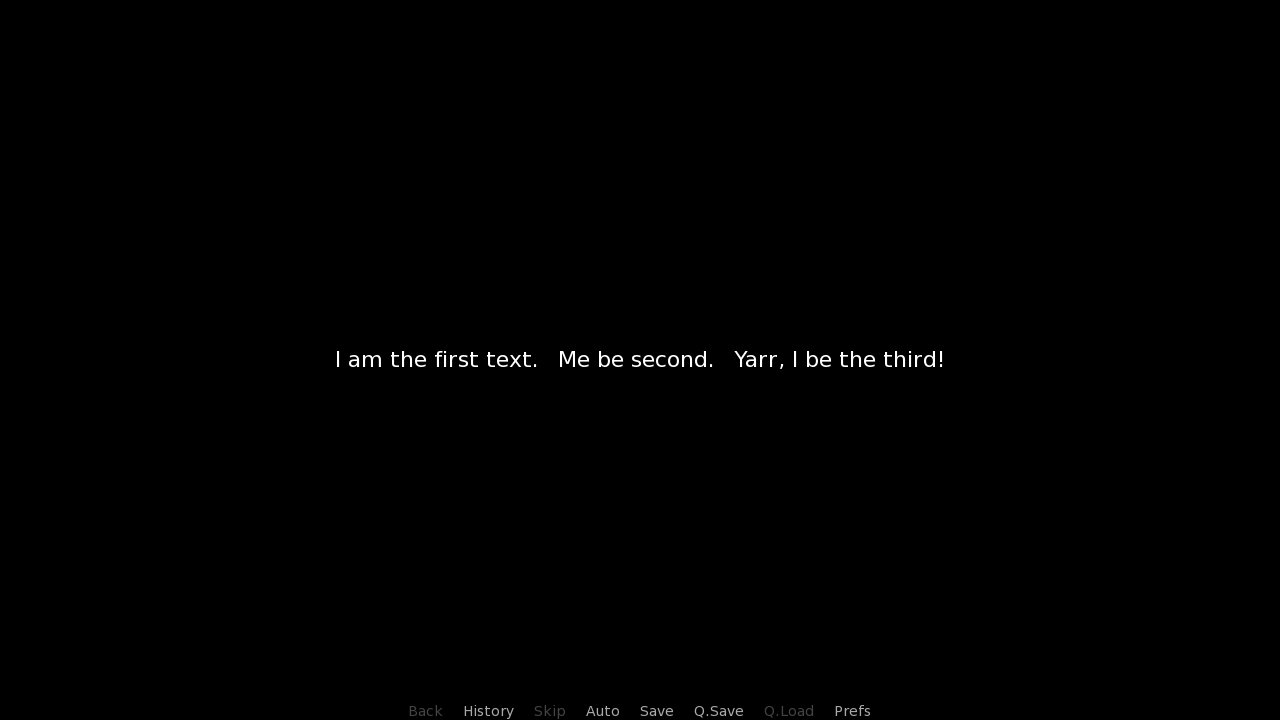
For now, we'll write down the vbox statement with a block, inside of which we'll put three text statements. We'll also include the align property again, to get the vbox centered.
screen ourScreen():
vbox:
align (0.5, 0.5)
text "I am the first text."
text "Me be second."
text "Yarr, I be the third!"
# The game starts here.
label start:
call screen ourScreen
returnAnd this will create three texts displayed inside a vbox - a column.
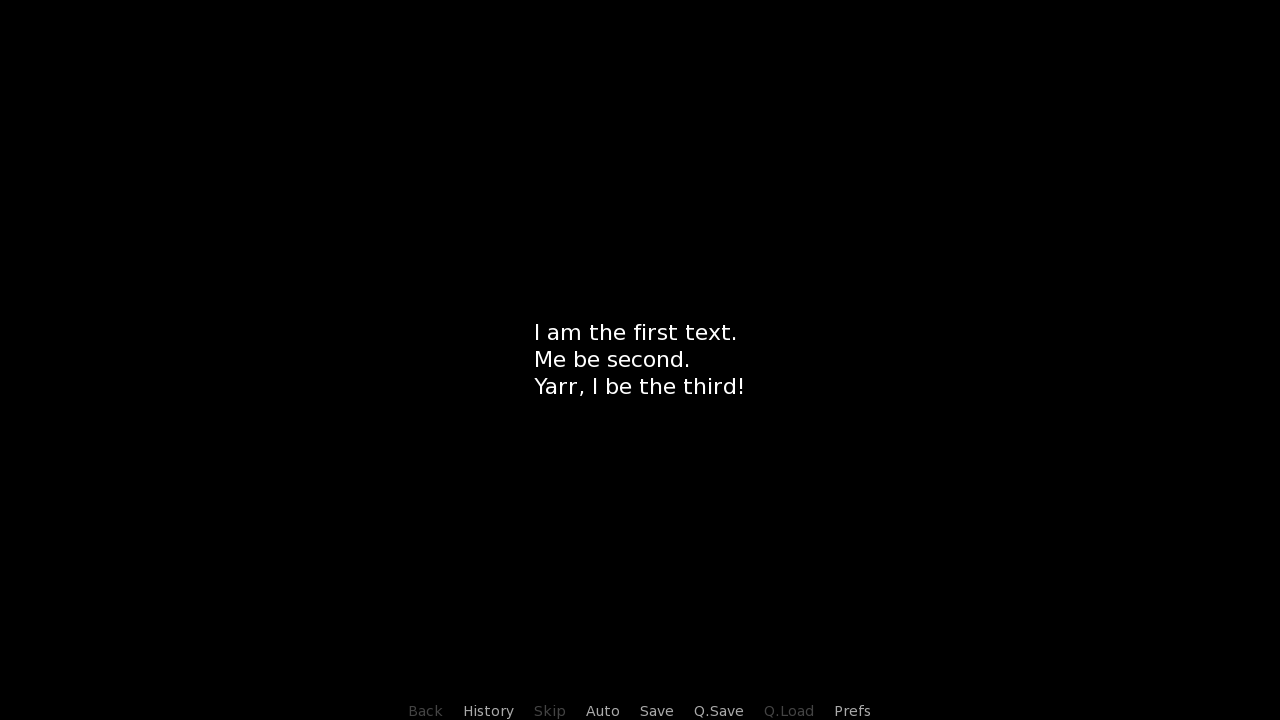
Both hbox and vbox use can use box style properties. I'll show you the most common one, spacing, which takes an int (whole number) and defines how many pixels are added between the elements.
So, if we were to add the spacing property to our code, like so...
screen ourScreen():
vbox:
spacing 20
align (0.5, 0.5)
text "I am the first text."
text "Me be second."
text "Yarr, I be the third!"
# The game starts here.
label start:
call screen ourScreen
return...We'll see that there's now more space between the texts:
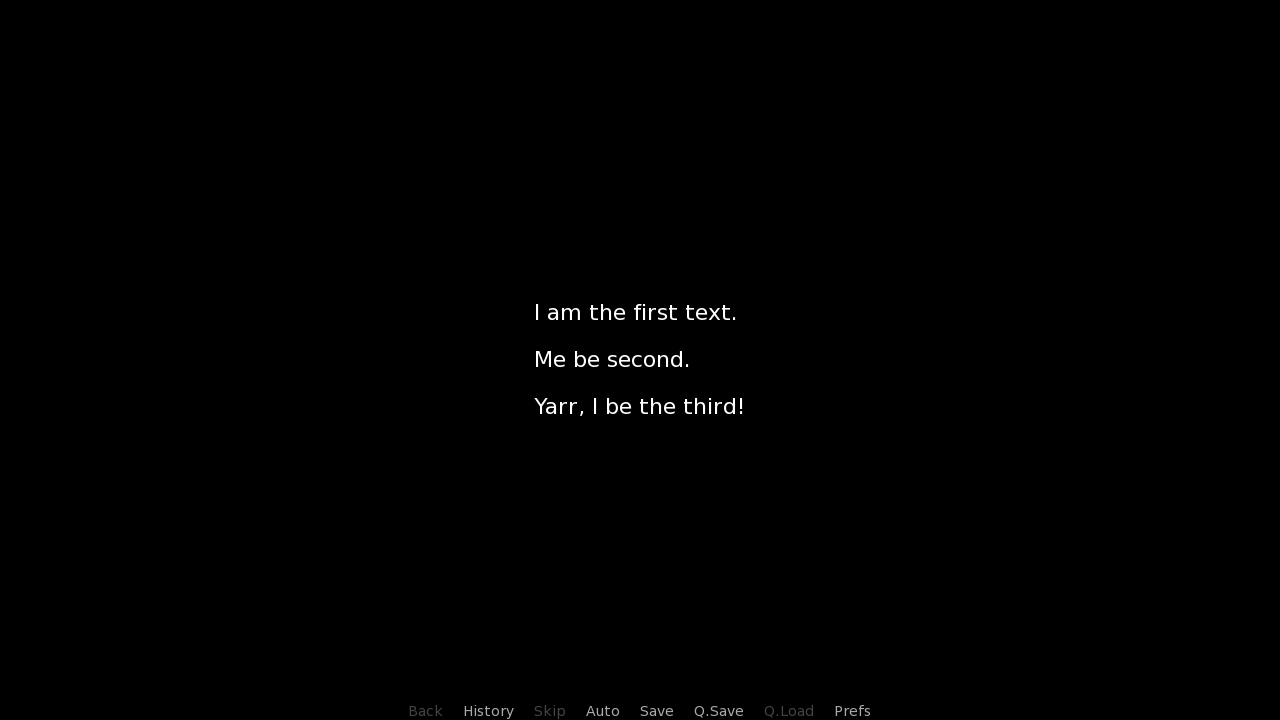
Similarly, if we were to do the very same thing with hbox (just changing the vbox statement in our code to hbox), we'd get the same thing, but with texts put into a row.
Finally, I'd like to show you a more complex screen, since the ones we've done so far were pretty simple. There will be a lot of code, but at this point, you should recognize most of it, if not all of it.
What will the screen be like?
- It will have a vbox, aligned to the top middle part of the screen. This vbox will hold four bold red texts with a null between them. We'll use the property of null called heigth, to create an empty space separating two and two texts.
- It will also have an hbox, aligned to the bottom middle part of the screen. This hbox will hold two vboxes, one with two blue texts inside, other with two green texts inside.
These two vboxes will also have different spacing.
This code is as follows:
screen ourScreen():
# vbox in the top part
vbox:
align (0.5, 0.25)
# first and second text
text "First red text.":
bold True
color "ff0000"
text "Second red text.":
bold True
color "ff0000"
# null for the empty space
null:
height 45
# third and fourth text
text "Third red text.":
bold True
color "ff0000"
text "Fourth red text.":
bold True
color "ff0000"
# hbox in the bottom part
hbox:
align (0.5, 0.75)
spacing 50
# first vbox (moved to the left), with blue texts
vbox:
spacing 20
# two blue texts
text "First blue text.":
color "0000ff"
text "Second blue text.":
color "0000ff"
# second vbox (moved to the right) with green texts
vbox:
spacing 75
# two green texts
text "First green text.":
color "00ff00"
text "Second green text.":
color "00ff00"
# The game starts here.
label start:
call screen ourScreen
return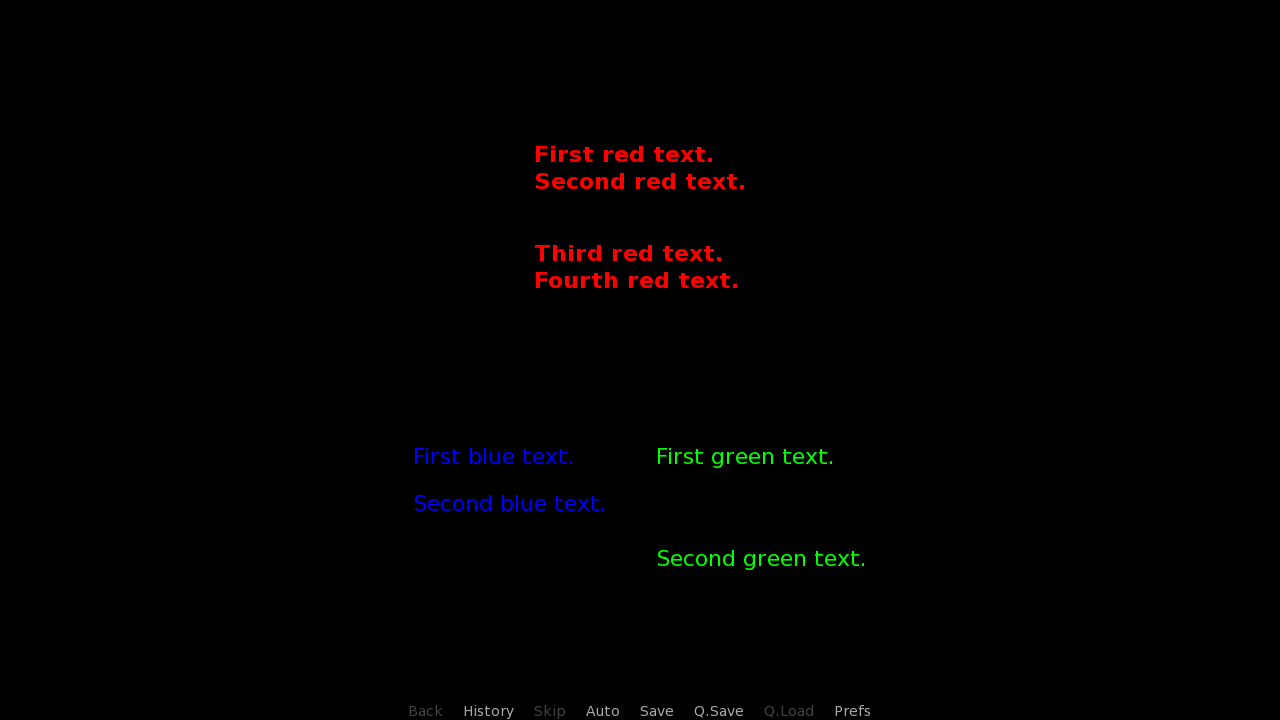
That should be enough for now. I think we've gone over a lot in this tutorial, even though it may not look like it from the summary.
- Displaying text through the text statement
- Grouping statements together with hbox and vbox statements
- Displaying statements in a row or a column
- That different statements can use different style properties, like Box and Text ones
Next time, we'll learn about statements fixed and frame to create areas where statements can be positioned. I'll also introduce you to some simple displayables, so that we can show something other than text and images.