Basics of Ren'Py #4
Transforms #1 - Basics of ATL
Welcome to Basics of Ren'Py!
These tutorials should help you understand basic features of Ren'Py. If you're new here, you should see the first three tutorials if you haven't already. You can find those Here (#1), Here (#2) and Here (#3).
As always, you can create a new project to be your guinea pig, or use one that you already have. I recommend writing into script.rpy, but any file will do, as long as there aren't any conflicts across files, like two different start labels.
define l = Character("Lezalith",
who_color = "E34D0C",
what_color = "8DBB08")
image icon = "gui/window_icon.png"
label start():
l "Let's show an icon!"
show icon
l "Isn't it spectacular?"
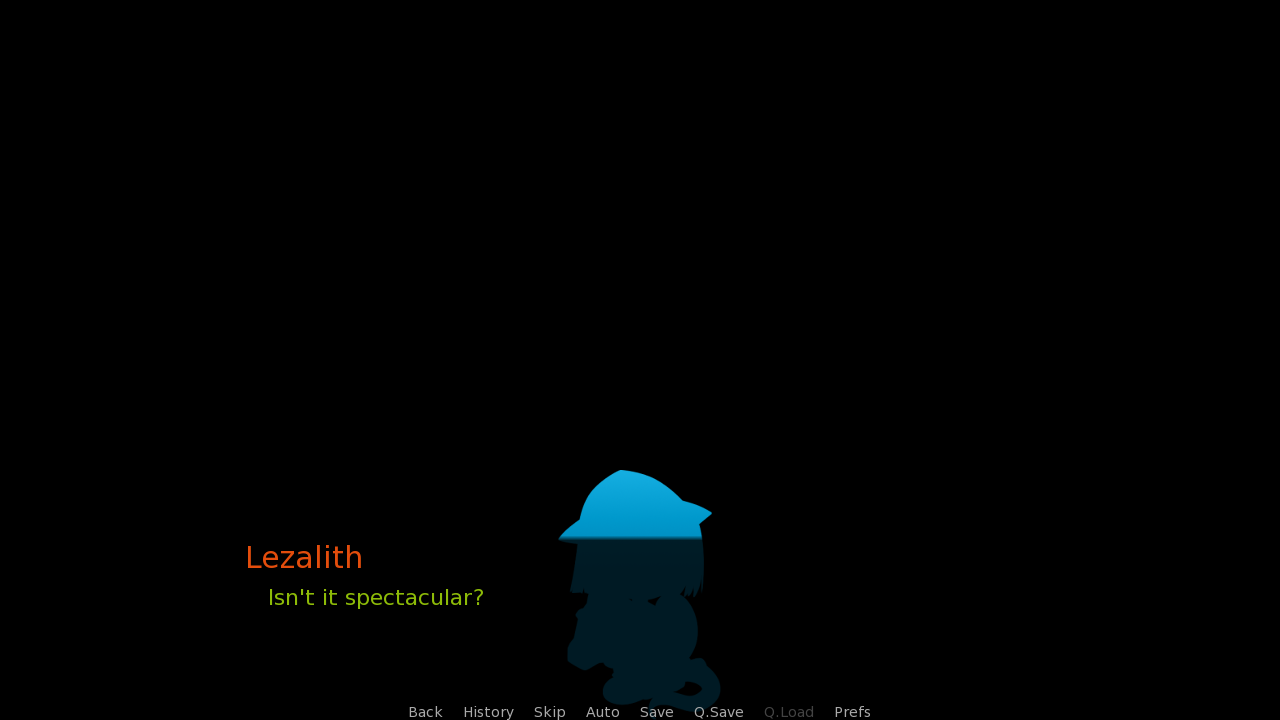
returnOnce again, you can see the start label that we're starting with today. It uses what we've learned in the last tutorial: Defines an image named icon and shows it on the screen. Let's remind ourselves what that looks like.

The goal for today's lesson is to learn how to move the image around. And not just that, we can do things like rotate it, change its size and/or make it transparent, all of this with little effort. This is done through ATL - Animation and Transformation Language.
I've done my research before writing this tutorial, and apparently ATL has been added back in 2009, and has been changed little afterwards. It's amazing to think something has been so useful for such a long time. Before that, there were special Python functions. If you're interested what that was like, you can take a look at a small example here. Either way, you'll learn to appreciate ATL very soon.
ATL is our way of changing transform properties. Let's change two of those right now, and get that image its position in the center that it deserves.
define l = Character("Lezalith",
who_color = "E34D0C",
what_color = "8DBB08")
image icon = "gui/window_icon.png"
label start():
l "Let's show an icon!"
show icon:
xalign 0.5
yalign 0.5
l "Isn't it spectacular?"
return
All of the transform properties can be found here, in the official Docs. On that page, we can see a short description of every property, its default value, and what type of value it takes.
When we want to change a property, we literally just write it with the new value, like we have with xalign and yalign. Note that unlike in Character objects from Basics #2 this doesn't require an equal sign.
Let's try to change some more. First, let's rotate the image like I said we would, with the help of the rotate property. And while we're there, let's use alpha to make it transparent too, why not!
define l = Character("Lezalith",
who_color = "E34D0C",
what_color = "8DBB08")
image icon = "gui/window_icon.png"
label start():
l "Let's show an icon!"
show icon:
xalign 0.5
yalign 0.5
rotate 90.0
alpha 0.6
l "Isn't it spectacular?"
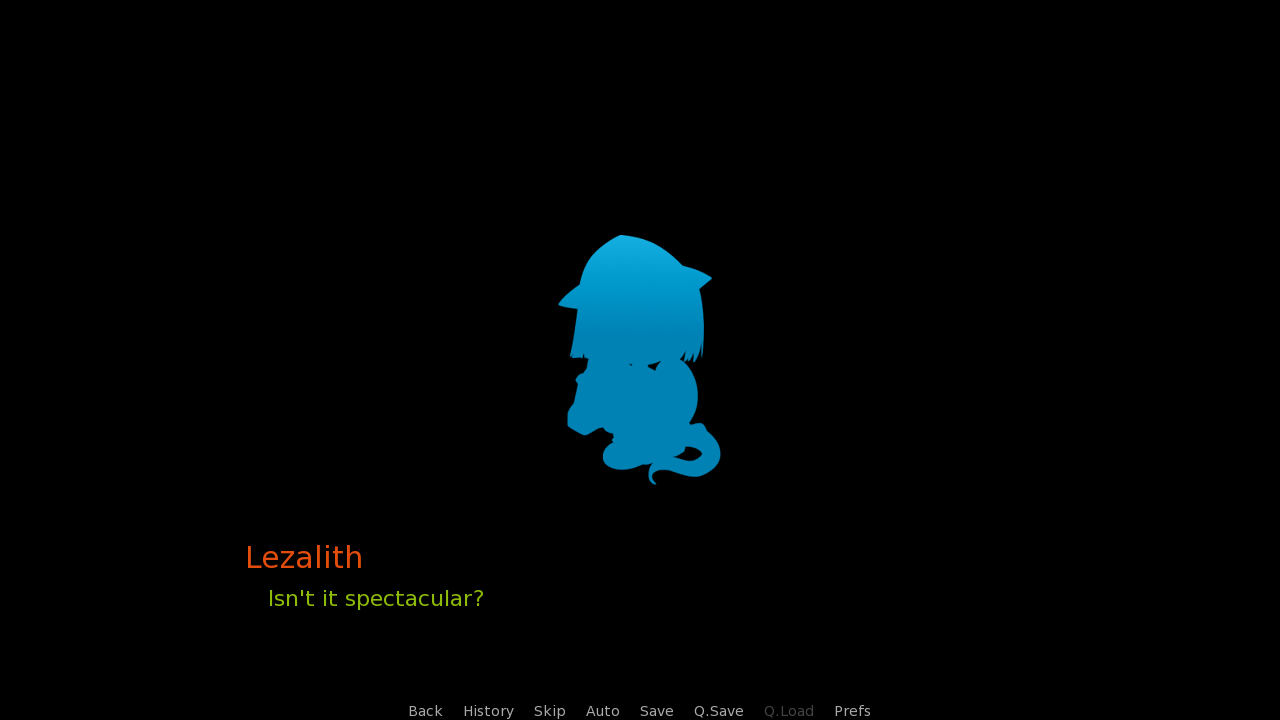
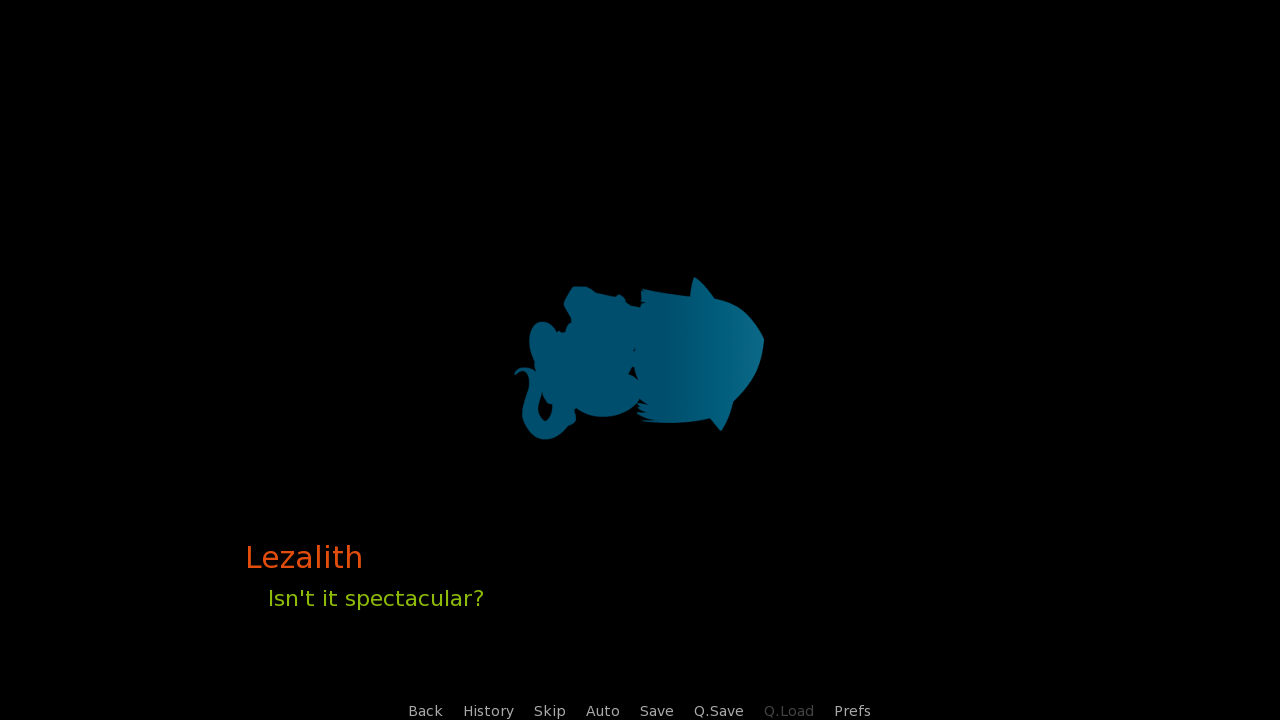
returnNow, not only we'll have our image centered both horizontally and vertically, it will also turn by 90.0 degrees and keep only 60% opacity, making it transparent (even though it's harder to see on the default black background).
Here's what that looks like ingame.

Turned 90.0 degrees clockwise, made partially transparent and then centered. The order in which you write the properties yourselves doesn't matter, since Ren'Py has a given order of applying those properties. The order is at the bottom of the Docs page, too, but you don't have to worry about it.
Now that we know how to work with transform properties, let's look at the other two places where we can use them. Yes, you've read that correctly, there are three different places where ATL can be used. These are:
- show and scene statements, former of which I've just shown you
- image statement
- transform statement
They function similarly, but have some differences, too. Let's take a look at how we would achieve the same by using the image statement.
define l = Character("Lezalith",
who_color = "E34D0C",
what_color = "8DBB08")
image icon:
"gui/window_icon.png"
xalign 0.5
yalign 0.5
rotate 90.0
alpha 0.6
label start():
l "Let's show an icon!"
show icon
l "Isn't it spectacular?"
returnInstead of defining an unmodified image of our icon and then changing it with transform properties when we show it, we define how it will look like straight away. With the properties defined inside the image, we don't need to include them again when we show the icon.
Finally, there's the transform statement. When we write a transform statement, Ren'Py remembers it under a given name. After that, we can use it multiple times on different images, without having to use transform properties inside the image statement or when showing it.
define l = Character("Lezalith",
who_color = "E34D0C",
what_color = "8DBB08")
image icon = "gui/window_icon.png"
image slot = "gui/button/slot_hover_background.png"
transform ourTransform:
xalign 0.5
yalign 0.5
rotate 90.0
alpha 0.6
label start():
l "Let's show two images instead of one!"
show icon at ourTransform
show slot at ourTransform
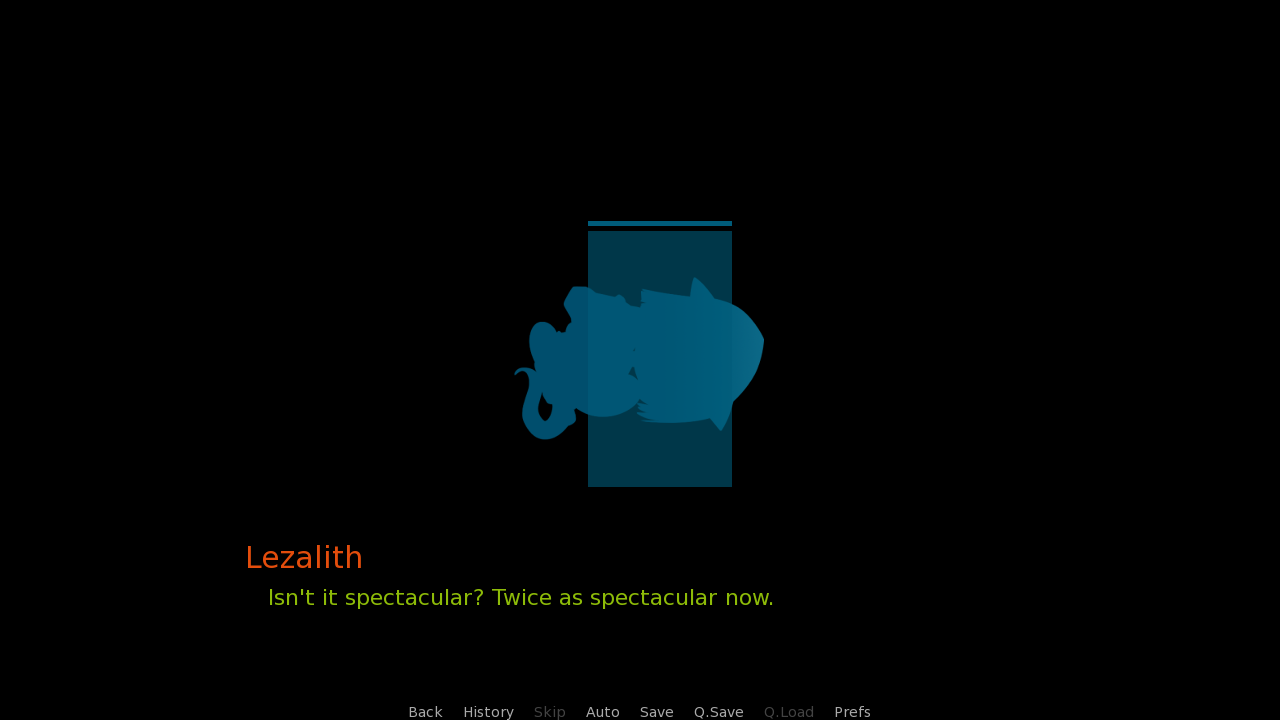
l "Isn't it spectacular? Twice as spectacular now."
returnAnd there we go. With a transform statement defined and two images shown with the transform applied, they are now placed identically. Both are rotated, both are made transparent, and both are placed in the middle.
I know it's weird to use a save slot as one of the images shown, but I want to use something present in every created project, so you don't have to worry about including your own images or downloading mine. As for the actual choice of the image... Hey, we're on a budget, okay? It's not my fault the default gui doesn't include more neat icons.

And I think here is a good place for the end of today's lesson! Summary time!
- What transform properties are
- Using transform properties when showing or scene-ing an image
- Using transform properties inside the image statement
- Defining transforms using the transform statement
- Applying transforms to images
Alright, enough with images. Next time, we'll learn how to use menus. This let's players pick which way they'll continue the story, and let's us really spice up our narrative!