
Git Tutorial #0
Installation Process
One would think that an installation wouldn't require a separate tutorial. Indeed, I wasn't planning on doing this separately, but that's because I failed to recall what the installation is like.
After I was done capturing images for the Git tutorials, I realized that the installation alone had nineteen different screenshots, which is absurd if you ask me, and there's no way I'm fitting that into an article with anything else.
So hey, if that's what it takes, I'm ready to provide ¯\_(ツ)_/¯
I got myself a 64-bit virtual machine with Windows 10, a clean environment where I can install and use Git from scratch.
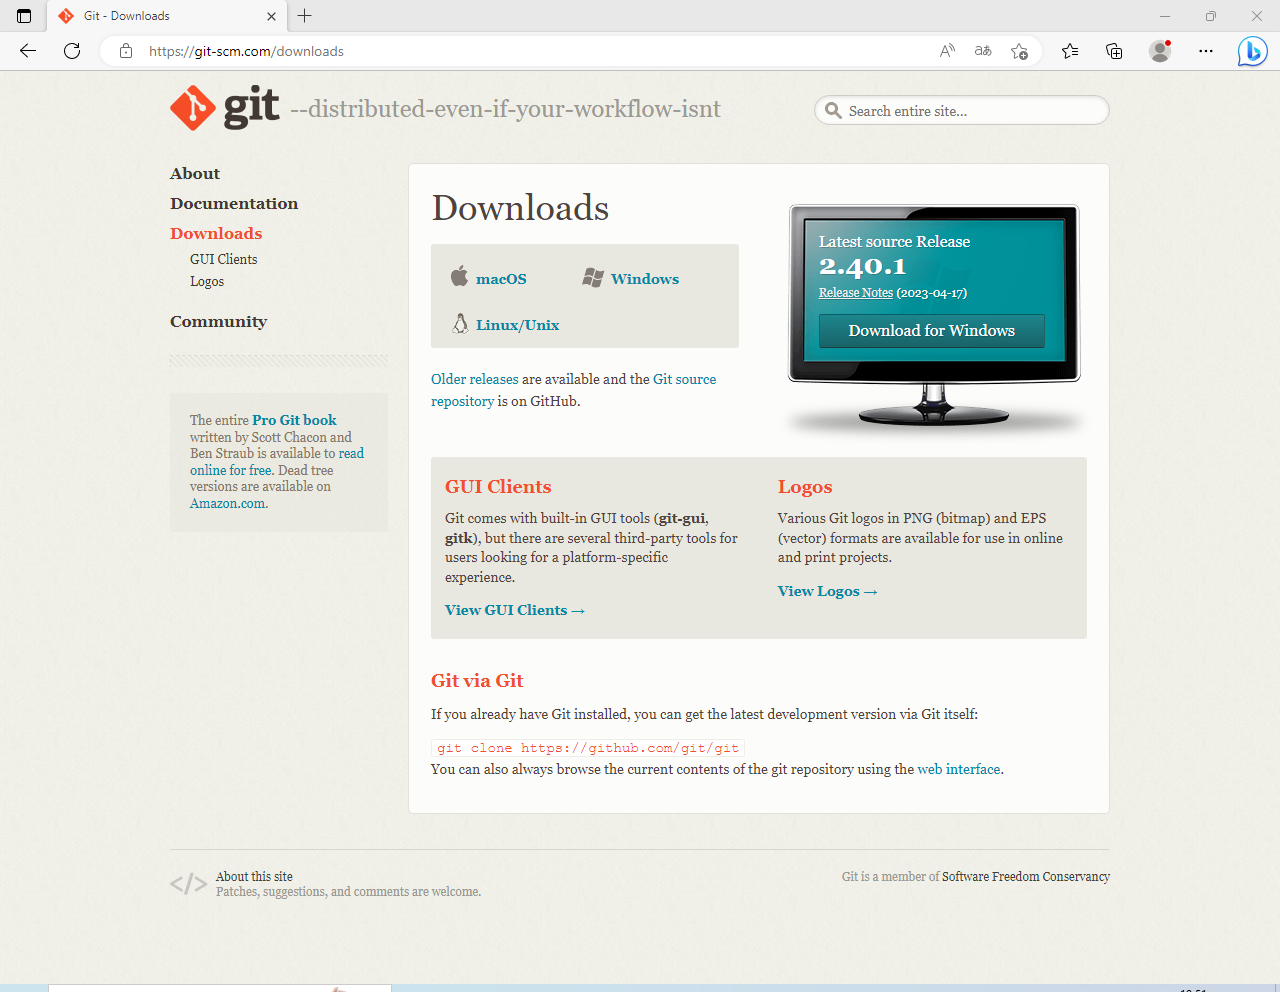
Git itself can be downloaded from the official website. Here, this link will lead you straight to the Downloads page, where you can download the right file according to your operating system.
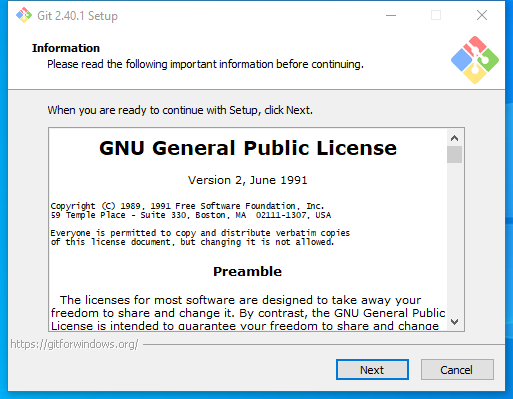
After downloading and launching the installation file, you'll encounter the License straight away.
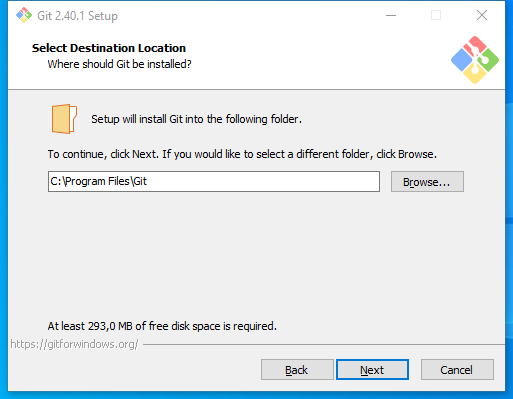
Second page is the installation directory. So far nothing we would be unfamiliar with.
Third page is where we start getting overwhelmed.
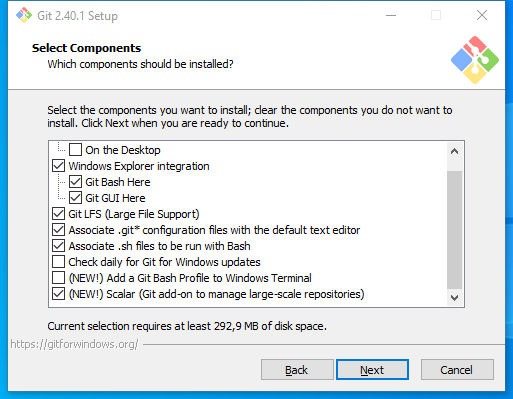
Here, you can select different optional components to install.
- The category on top barely out of visibility is Additional Icons. You don't really need the Desktop Icon, but you probably want to get it if you don't want to pick...
- ...the Windows Explorer integration. My tutorials use a lot of Bash, so ticking the first option comes as very useful - it lets you open Git in your folders straight away, without having to navigate to them first.
No need for GUI, it is ugly and none of my tutorials use it (but I forgot to untick it). - Git LFS is a larger limit for the files Git can track..? Maybe? I'm not sure what that is, and that's going to be the case for a couple of options throughout the installation, so in those cases I'll be sticking to defaults - ticked here.
- Associating .git config files and .sh files with the default stated here saves you the trouble of having to choose what program to open them with later.
- Check daily for Git for Windows updates... If automatic updates float your boat. They don't float mine.
- Git Bash Profile added to Windows Terminal gives you, I think, the ability to use Git commands in script files, to automate processes. Tick if you think you'll need it, I don't.
- Finally, no clue what Scalar is, but based on the description in parentheses it sounds useful. I ticked that one myself.
On the next page, we see something more familiar again.
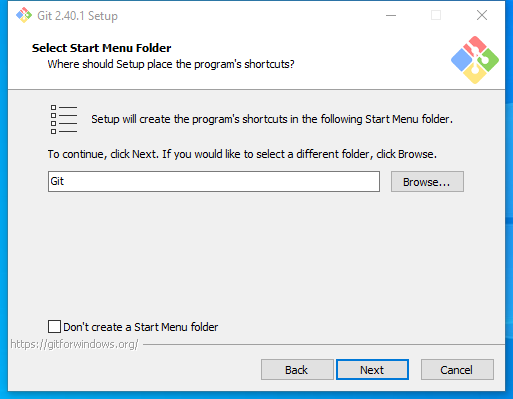
Just the option to create a folder in the Start Menu. I'm a fan of the Start Menu.
Next, your default editor. When installing Git on my own system, I picked the Select Other Editor option, which let me navigate to my beloved Sublime Text 3. On this clean machine, I don't actually have any editor installed, so I'll fall back to the eternal and everpresent Notepad.

Afterwards, something very Git specific.
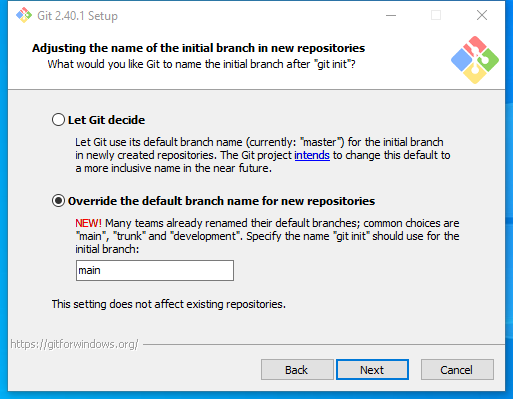
In Git, everything is tied to a branch. You can create multiple branches for your projects - for example, to separately develop a feature before adding it to the main code. Branches will be discussed more in Git Part #2.
This main code is on the master branch - that's what it's commonly referred to. However, on both GitHub and GitLab, the initial branch is called main, so I find it worthwhile to use that instead.
Next page, Adjusting your PATH environment. To understand what this does, I'll need to briefly explain what the PATH exactly is.
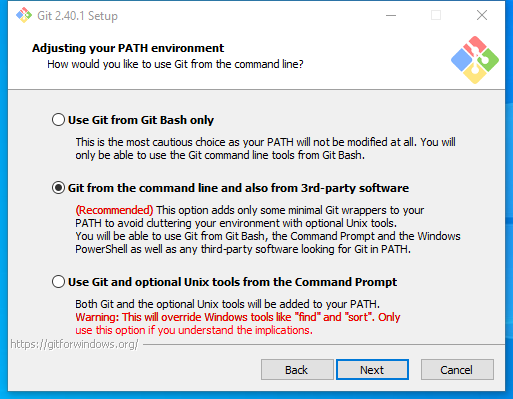
PATH environment is basically a registry that matches applications to names the command line can use to quickly invoke a program.
For example: py can be added to PATH during Python 3 installation, so that inside the command prompt you're able to do the latter, and don't have to use the former:

In the Git installation middle path is the golden path: Git from the command line and 3rd-party software will not only let you use Git from the command prompt, it will also let you use different applications working with Git - like my beloved Sublime Merge, or the well known GitHub Desktop.
Moving on as we cross the halfway point (YAY!), coming up is a series of more technical options. Don't worry, I'll provide a very brief description and we'll stick to default options.
First, SSH executable.
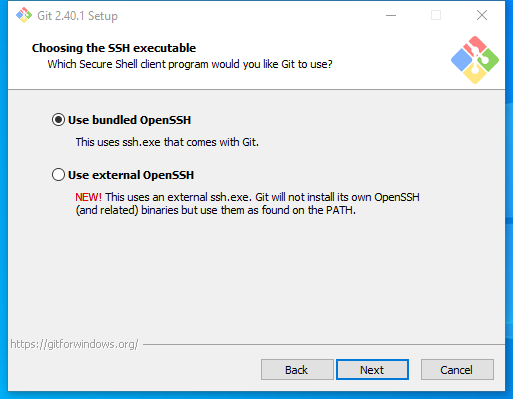
SSH has something to do with security. We'll need it when dealing with sites like GitHub, and since I have no clue where I'd get my own ssh.exe, I'm sticking to the bundled OpenSSH option.
Next page also deals with three letters, SSL - This one handles security specifically around uploading/downloading from remotes sites (literally called remotes) like, once again, GitHub or GitLab.
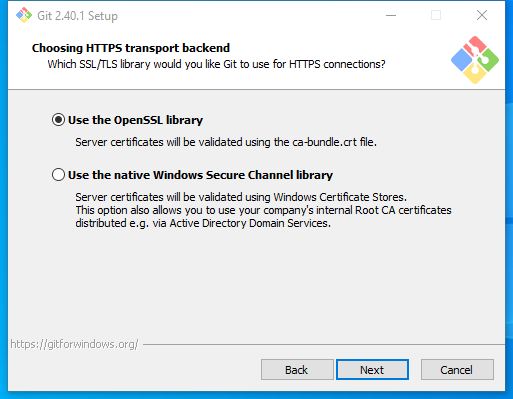
I'm not sure it's wise to trust the native Windows options. It seems like it's there for people who know what they're doing, which I'm not, so I'm once again sticking to the default OpenSSL library.
Christ, the next one is a handful.
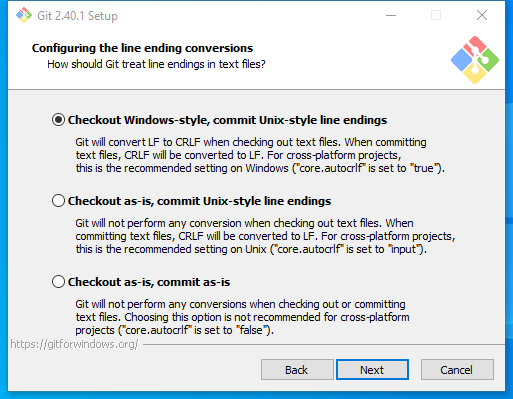
It deals with line endings. These are hidden characters present in text-like files at the end of every line, and there's two different types: LF and CRLF. Easiest way of thinking about these is that they're a difference between operating systems - Windows uses one, Unix systems like Linux use the other.
But that doesn't tell us much, so once again, sticking to recommended options - first option for Windows users, second for Unix users, and third for those who know what they're doing.
Next, terminal emulator that the Git Bash uses.
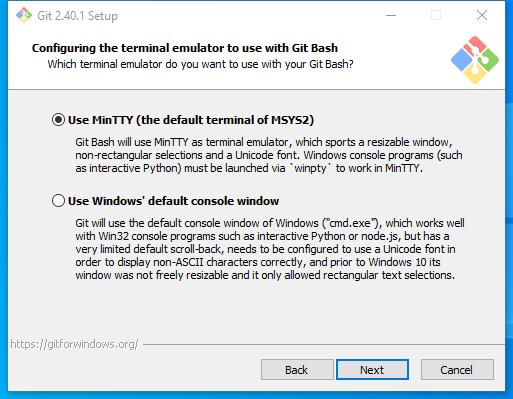
It's a lot of text for a pretty simple decision. MinTTY is similar to a regular Windows console, but more convenient - as stated in the installation window.
It also has colors, which I appreciate.
Next page again deals in how Git works, specifically the pull command. We won't hear about it until Git Part #6.
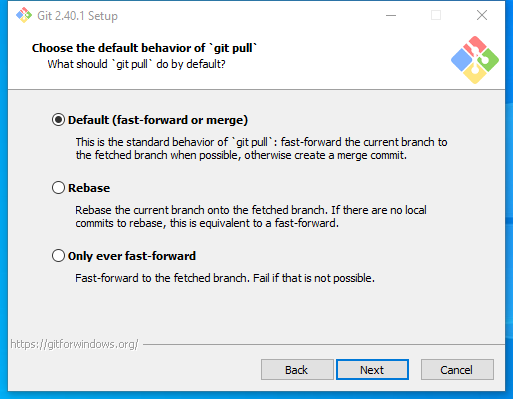
We see plenty of Git terms, most (if not all) you're probably not familiar with. I am familiar with all the terms in the Default option, and with the limited knowledge that I have, I consider this the best option - it is the path of merge commits, which we'll encounter ourselves in Part #4.
Next, a credential helper.
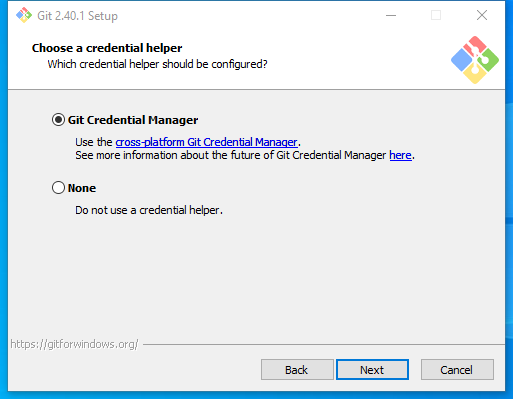
As I understand it, Git Credential Manager is a tool that makes it easy to input your password (which you possibly need when contributing to others' projects). It's nothing harmful, so I'm including it in the installation.
Stay with me for just a little longer please, as we move on to the last two pages!
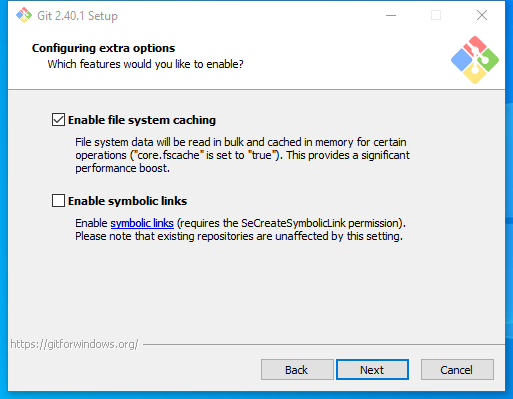
First, extra options. Sticking to defaults, the file caching ticked (it promises a performance boost, and I like performance boosts), and the symbolic links unticked, as I have literally zero clue as to what they are.
And finally, the experimental options. You can tick these if you want, but I like to stay away from beta and experimental features most of the time.

And if you look closely, freaking finally the button at the bottom says Install instead of Next.
Click it, and don't look back!
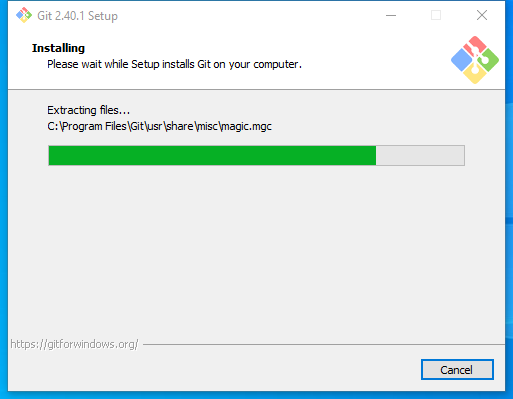
After having to deal with so many options, you bet I'm including a screenshot of the installation progress. I find it somehow satisfying.
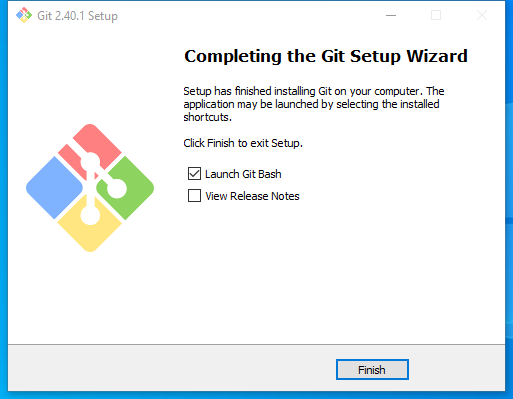
We've reached the promised land. You now have Git installed on your computer.
If you leave the Launch Git Bash option ticked, you'll get a sneak peak for the next tutorial after clicking the Finish button:
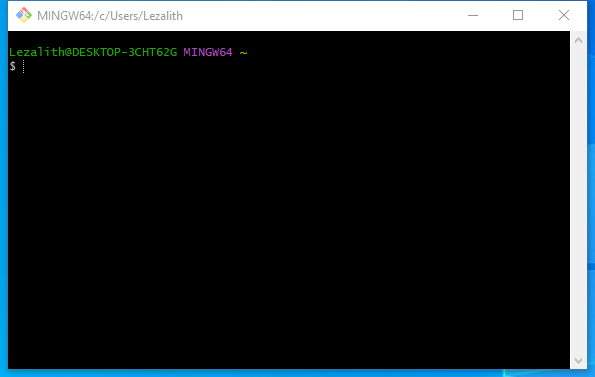
That's the fabled Git Bash, inside the MinTTY terminal.
We'll use it to learn the very basics of Git in the next tutorial.
You're probably aware that I do a summary at the end of each tutorial. What have we gone over today?
- Installing Git
- Some basic Git terms
And that's all for now. It's really one of the longest installations I've ever come across, and if you just blindly skimmed through this page, I don't blame you. What's important, you're ready to continue the Git learning process - and I'm looking forward to it.